| You can easily customize the login screen of the Trac System with only a few preferences. This will cover almost everything users see when they go to login. The main message, the information boxes on the left and right sides of the screen, username/password terminology, and the forgot password button.
All of these settings can be found in Trac Navigation > Trac Man icon > Utilities and Prefs > Advanced Prefs/System Prefs (depending on the preference).

If you’d like to see the changes you’re making while you’re making them, we recommend using a container tab or opening another browser to view the Trac System without logging in. Refresh the page every time you save a change.
Advanced Pref - MsgsAll
This preference lets you add an HTML supported message to your login screen. Maybe instructions to login, a welcome message, a larger version of your school logo, whatever you need. This can be seen by everyone logging into your Trac System.
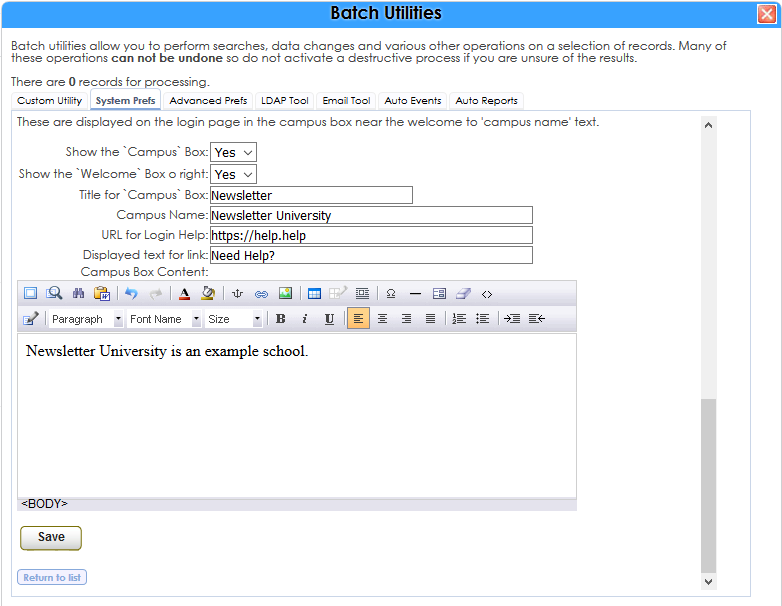
System Pref - LoginLinkData
This preference controls the boxes on the left and right side of your login screen. Whether or not the campus and welcome boxes are shown, the name of the campus and campus box, help URL (or mailto address) and label, and a WYSIWYG editor for editing the message that appears in the campus box.

Advanced Pref - AllowEmailStudentPass
This preference enables or disables the "Forgot your password?" option on the login screen.
Advanced Pref - LABEL:UserName
Advanced Pref - LABEL:Password
These preferences let you change the terminology for "Username" and "Password" on your login screen.
|