TracCloud: Log Listing Message, KIOSK Notices, and Custom KIOSKs: Difference between revisions
From Redrock Wiki
m Protected "TracCloud: Log Listing Message, KIOSK Notices, and Custom KIOSKs" ([Edit=Allow only administrators] (indefinite) [Move=Allow only administrators] (indefinite)) |
No edit summary |
||
| Line 106: | Line 106: | ||
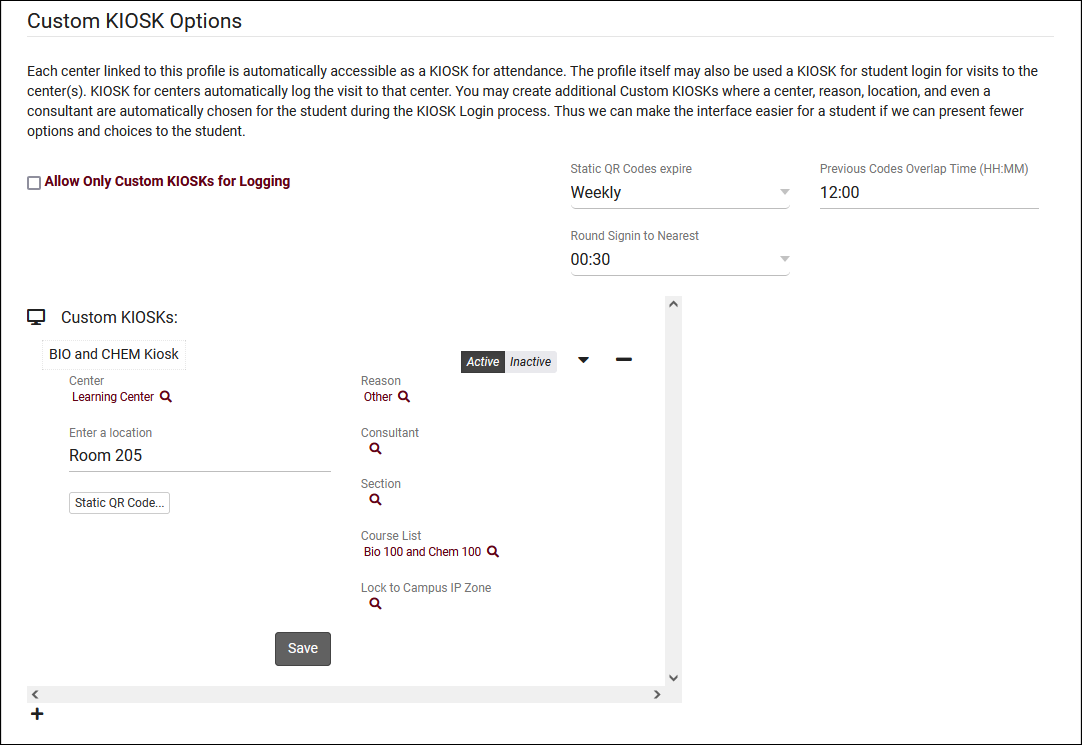
Custom kiosks can be configured for specific [[TracCloudGuideBasicsVisits|visit]] scenarios. For example, if one of your kiosks is only going to be used for a specific Center/Reason combination, you can use a Custom Kiosks to make sure students are logging in with those fields predetermined. You can also select a Location, Consultant, Section, and even IP address zone. | Custom kiosks can be configured for specific [[TracCloudGuideBasicsVisits|visit]] scenarios. For example, if one of your kiosks is only going to be used for a specific Center/Reason combination, you can use a Custom Kiosks to make sure students are logging in with those fields predetermined. You can also select a Location, Consultant, Section, and even IP address zone. | ||
<br> | <br> | ||
[[File: | [[File:9708188.png|800px]] | ||
<br><br> | <br><br> | ||
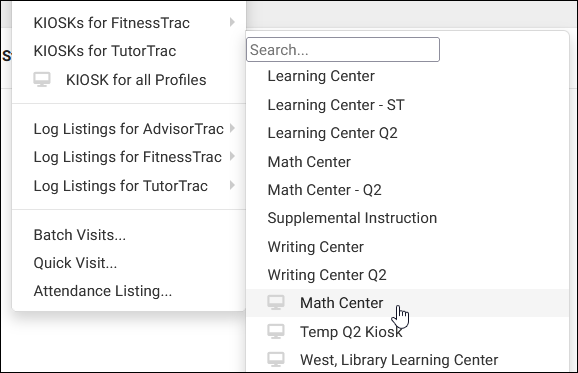
These custom kiosks can be accessed from the same menu as your standard center kiosks. They will appear in the bottom half of the list, separated by a horizontal line. The only visual difference within the kiosk is that any fields preselected in the custom kiosk menu won’t show up during student logins, as the visits will already be assigned to that Center/Reason/Consultant/Location. | These custom kiosks can be accessed from the same menu as your standard center kiosks. They will appear in the bottom half of the list, separated by a horizontal line. The only visual difference within the kiosk is that any fields preselected in the custom kiosk menu won’t show up during student logins, as the visits will already be assigned to that Center/Reason/Consultant/Location. | ||
| Line 112: | Line 112: | ||
<b>Allow Only Custom KIOSKs for Logging</b> disables the preset center kiosk options that you would see by default. | <b>Allow Only Custom KIOSKs for Logging</b> disables the preset center kiosk options that you would see by default. | ||
<br> | <br> | ||
[[File:46j46j4h3g3h53j3.png|500px]] | [[File:46j46j4h3g3h53j3.png|500px]]<br><br> | ||
In addition to standard kiosk functionality, custom kiosks also allow you to create static QR codes that your staff can reuse with a rotating confirmation code. | |||
* <b>Static QR Codes expire</b> | |||
::Choose how frequently the QR code expires, daily or weekly.<br><br> | |||
* <b>Previous Codes Overlap Time</b> | |||
::Add a buffer allowing "expired" QR codes to be used after a new code is generated.<br><br> | |||
* <b>Round Signin to Nearest</b> | |||
::Allows TracCloud to automatically round logins to the nearest 15, 30, or 60 minutes. The purpose of this is to emulate [[TracCloudGuideBasicsVisits|batch visits]], where the time would be static.<br><br> | |||
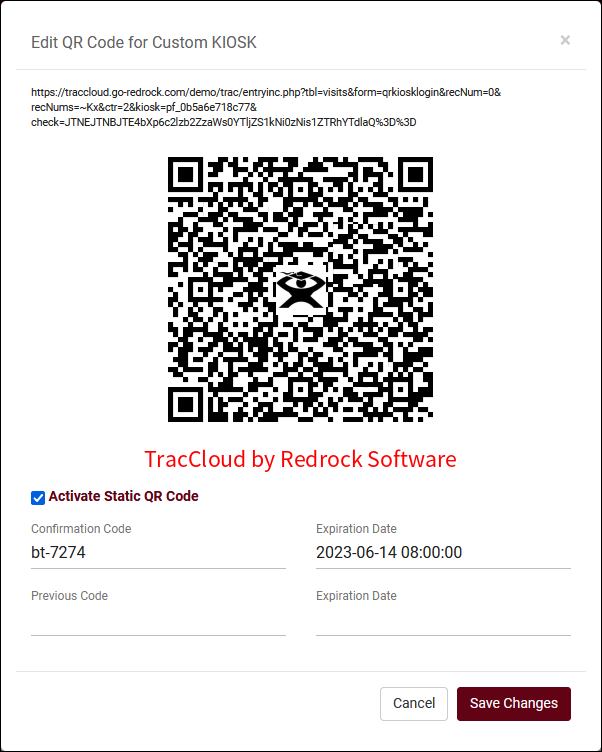
Within each custom kiosk, you will then find a <b>Static QR Code</b> button. Clicking this opens the following form. | |||
[[File:6902688.png|600px]]<br><br> | |||
* <b>Activate Static QR Code</b> | |||
::Enable or disable this QR code.<br><br> | |||
* <b>Confirmation Code</b> | |||
::This is the current confirmation code for this QR code. Students will need to enter this value after scanning, and this value will expire based on your preference in <b>Static QR Codes expire</b>. If you're creating a QR code for the first time, this code (and expiration date) will need to be set manually. Going forward, it will be updated daily/weekly automatically.<br><br> | |||
* <b>Expiration Date</b> | |||
::The expiration date of the related code.<br><br> | |||
After a student scans the QR code, they will be prompted to enter the confirmation code followed by their ID. The login process is the [[TracCloudGuideBasicsVisits|same as a normal kiosk]] from this point onward. | |||
[[File:7275997.png|800px]] | |||
<hr> | <hr> | ||
==Time Check Preferences== | ==Time Check Preferences== | ||
Revision as of 17:07, 13 June 2023
Profile Preferences
Prefs
|
Log Listing Message, KIOSK Notices, and Custom KIOSKs This portion of your preferences contains additional options relating to the Log Listing, KIOSKs, and more. NoticesA notice can be configured to display on KIOSKs and the Log Listing page. This message can display information that may be useful to staff and students who are trying to login. This message also supports HTML, so you can use bold or italics tags to adjust the visibility of your message. Here’s an example of a message we can include.
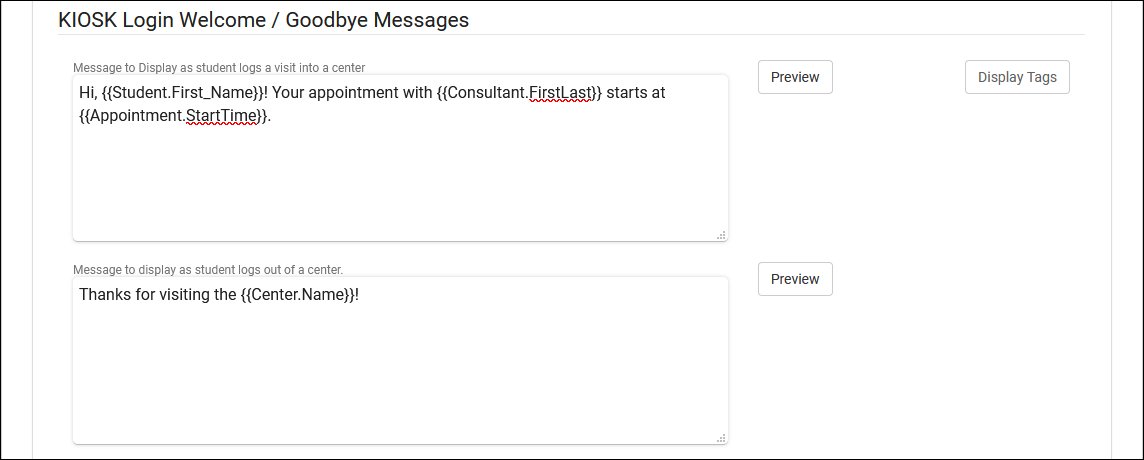
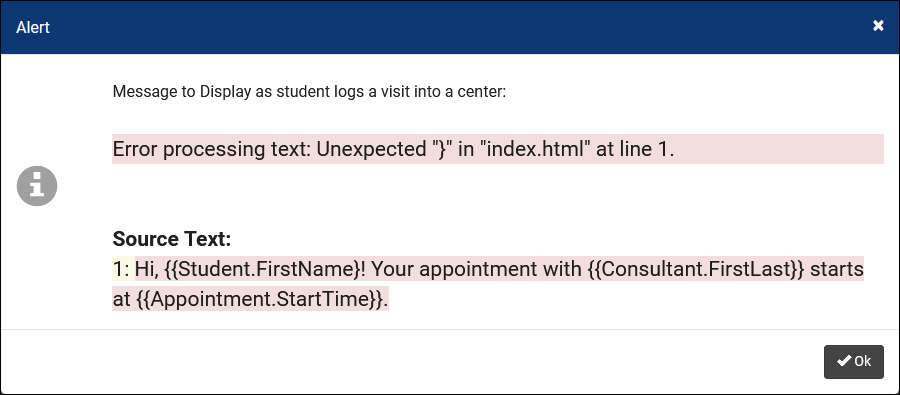
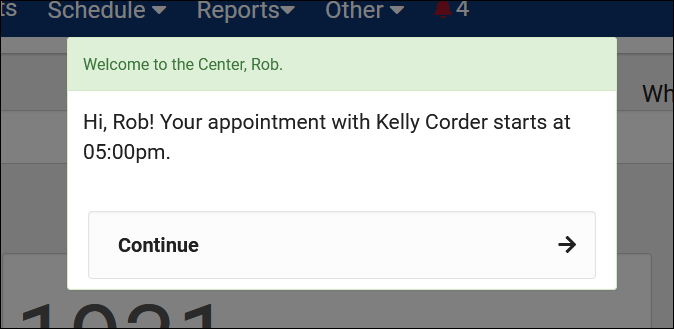
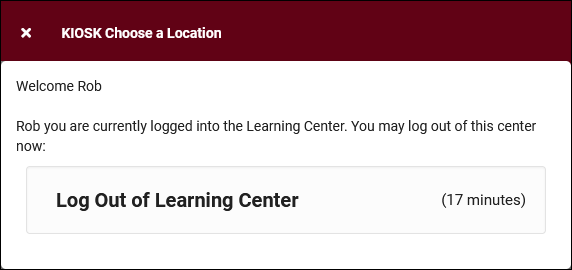
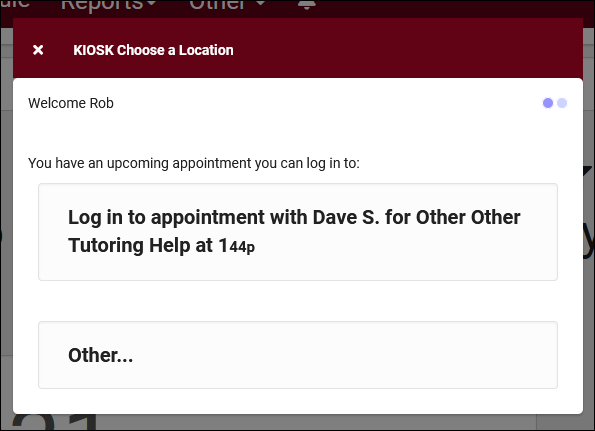
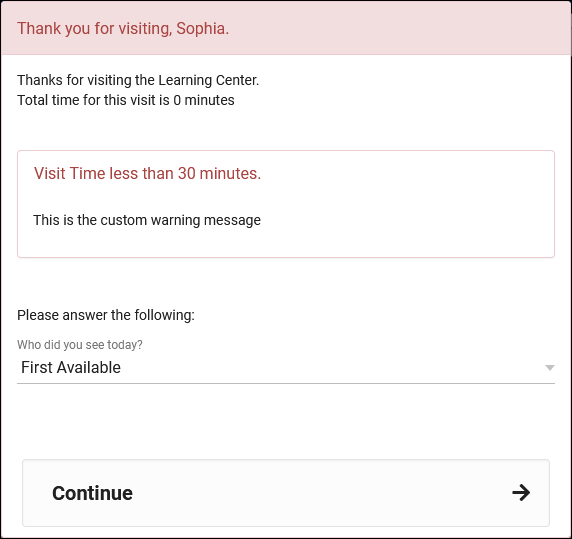
Kiosk Login Welcome / Goodbye MessagesThese are custom, Twig & HTML-supported messages that can be displayed during the login/logout process on the KIOSK or Log Listing. This allows you to display information to the student while they’re logging in, maybe their upcoming appointment information or contact info for the consultant, this is up to you. For more information on Twig, take a look at our dedicated Twig article.
Auto Terminate Visits Longer Than:The Auto Termination process can automatically conclude ongoing visits at the end of the night and/or correct visits that have a longer-than-intended duration. There are two parts of this process. The first, Terminate all still logged in, will only conclude visits that are still in-progress by your Time for Nightly Termination. The second, Auto terminate visits longer than, also applies to on-going visits that meet this criteria, however, this additionally applies to concluded visits. For example, if a user created a 10-hour visit for one of your students, this process will change it back to your defined time.
Other Log In/Out Preferences
Custom KIOSK OptionsCustom kiosks can be configured for specific visit scenarios. For example, if one of your kiosks is only going to be used for a specific Center/Reason combination, you can use a Custom Kiosks to make sure students are logging in with those fields predetermined. You can also select a Location, Consultant, Section, and even IP address zone.
In addition to standard kiosk functionality, custom kiosks also allow you to create static QR codes that your staff can reuse with a rotating confirmation code.
Within each custom kiosk, you will then find a Static QR Code button. Clicking this opens the following form.
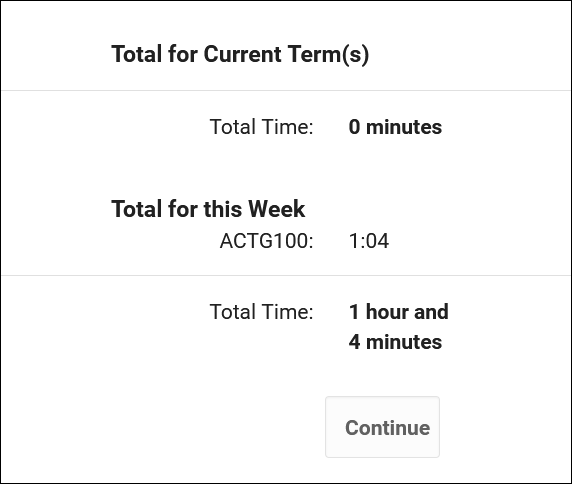
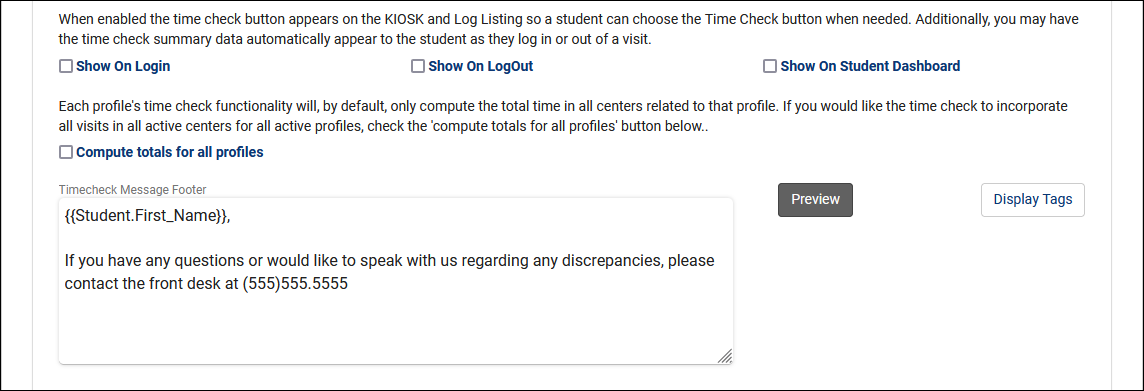
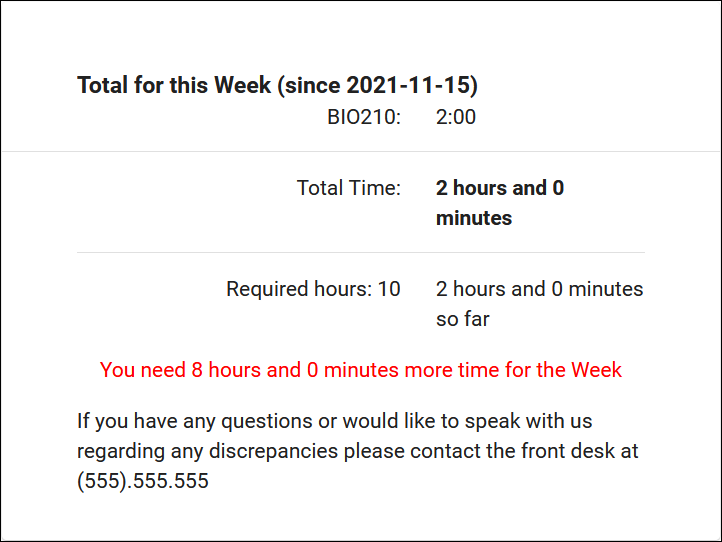
After a student scans the QR code, they will be prompted to enter the confirmation code followed by their ID. The login process is the same as a normal kiosk from this point onward. Time Check PreferencesWhen students log in or out of a center, Time Check will allow them to view how many visit hours they have accumulated within a given time frame. This feature is typically utilized in athletic centers, where students may have a required hours per week or semester. Within these settings, you will be able to manage and adjust the date range of the required hours as well as what totals are displayed to the student, and even a custom message.
|


