TracCloud: Documents
From Redrock Wiki
|
|
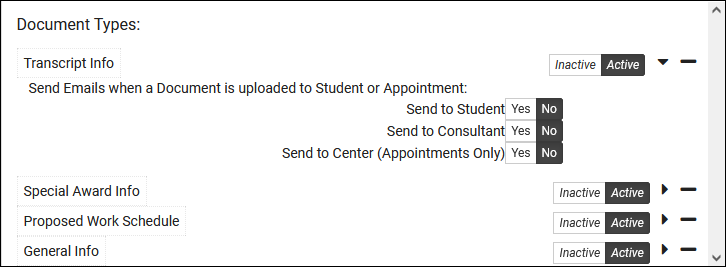
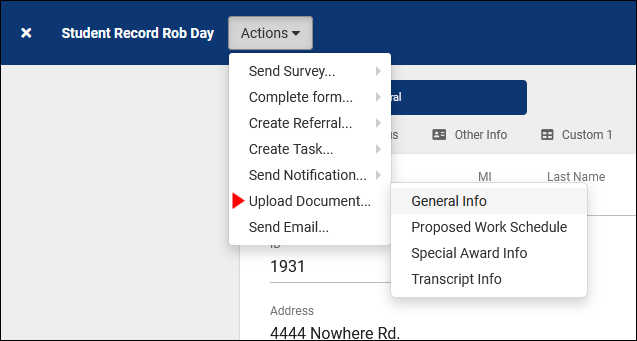
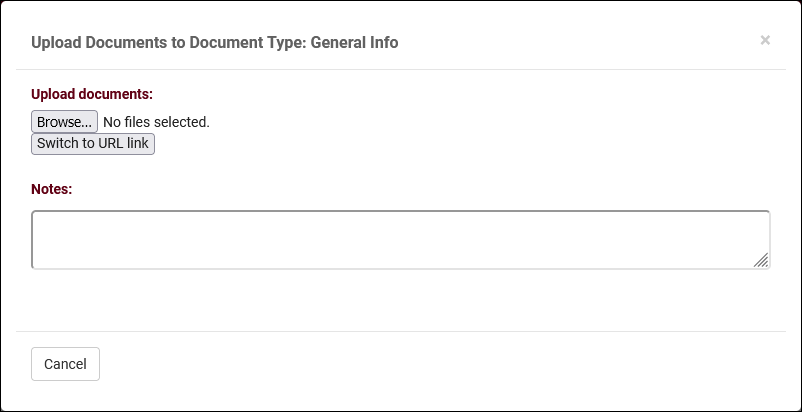
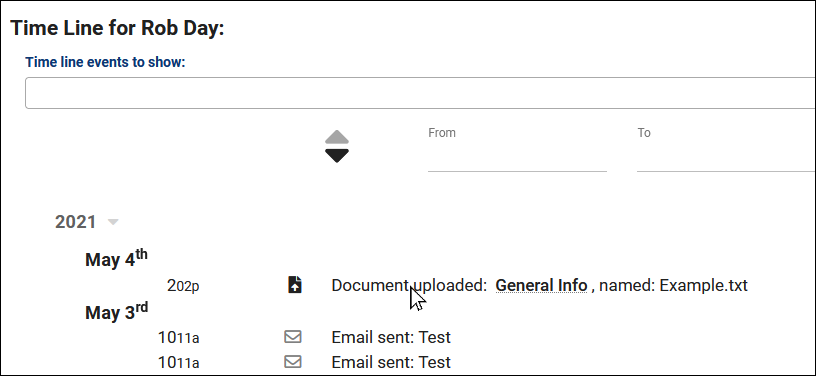
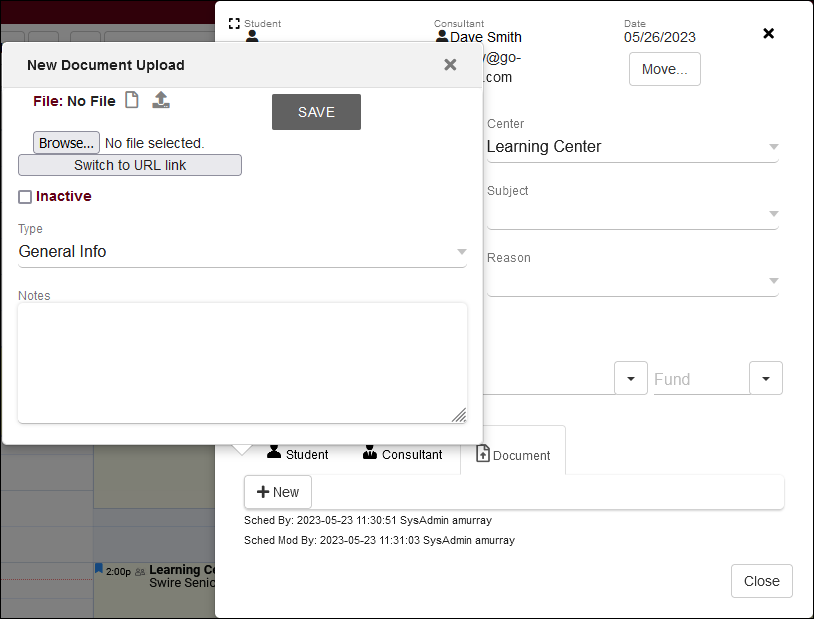
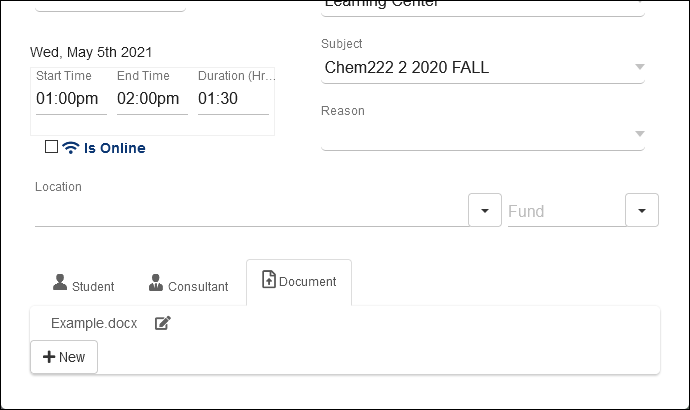
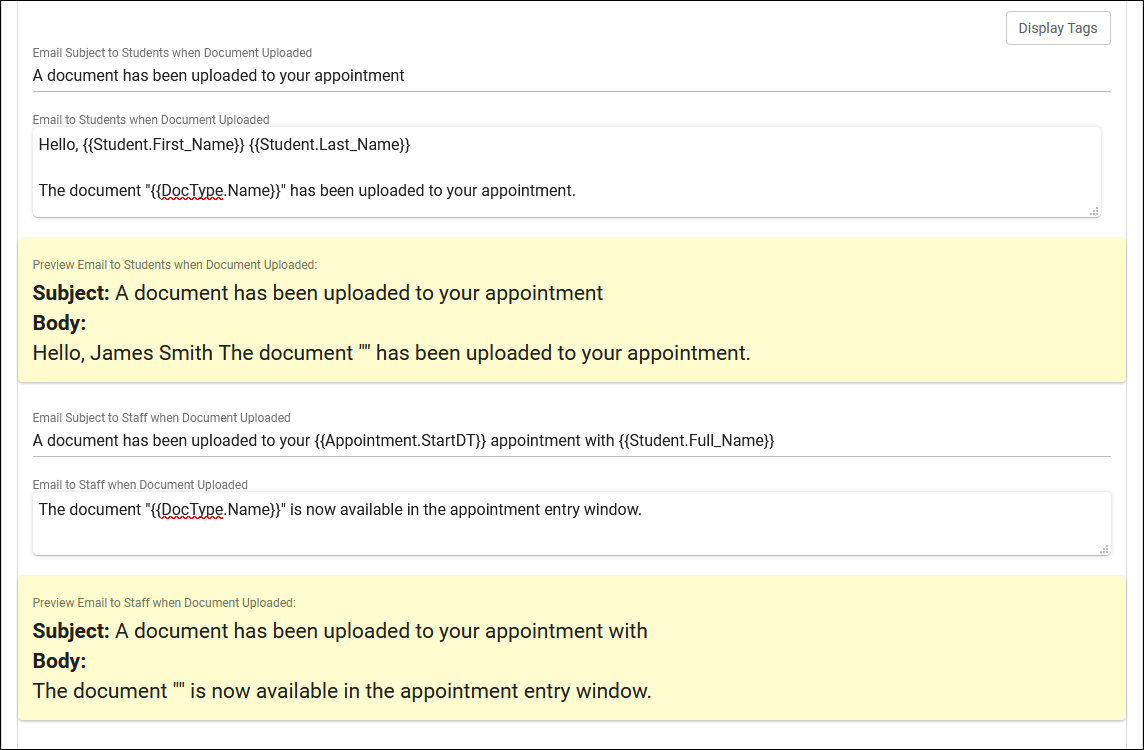
Document Types Documents can be used to upload files to student and staff accounts, appointments, visits, and even availabilities. These documents could be worksheets or assignments that students want to share with their consultants, administrative documents and intake applications stored in their profile, or any other files you may want to store in relation to a record. Each document is assigned a "Type," which allows you to designate who has access to files linked to that type and who can upload them. Access to document types is based on permission groups, detailed here. Creating Document TypesTo create a new type, click the + icon and click on the name of the document type to rename it. Clicking the right-arrow opens a menu that allows you to choose who receives an email when a document of this type is uploaded. Assigning Document Type AccessCertain document types may need to be hidden or restricted for certain groups. Maybe they contain sensitive information, or the information simply isn’t relevant to all staff members (or students). To edit this access, you’ll need to go to the permission group that you want to edit, and define which Document types they can access in the “Document Types” section. Other > Other Options > Groups > [Permission Group Name] > Center Access Each Document Type can be assigned a different permission level by clicking on the colored icon. This cycles through the different options as described in the key above. "Edit" in this case includes uploading. Uploading and Viewing Documents in Student/Staff ProfilesUploading a document to a student or staff profile follows the same process and can be accomplished by clicking Actions, then selecting the document type you'd like to upload. This will prompt you to upload the document (or paste a link to an online document), as well as input any notes that may be useful relating to this document. After the document has been uploaded, it will be visible within the student/staff timeline tab. Accessing the document itself is as easy as clicking on the entry in the list, which will display a download link for the document as well as any notes that were previously entered. You may also edit the document notes here if needed, assuming your permission group allows it. Uploading and Viewing Documents in Visits/AppointmentsDocuments can also be uploaded directly to visits, appointments, or availabilities. With this ability, a student could upload an essay or worksheet that they need assistance with during the booking process, and their consultant could easily download it during the appointment. Alternatively, a document could be uploaded to the availability, allowing students to view it after booking the time slot. Visit documents can only be uploaded and accessed by staff. Within any of these record types, you will find a document upload option that looks similar to the screenshot below (which shows an appointment). After the document has been uploaded, it will appear with the Document tab of the appointment. Multiple documents can be uploaded if needed. Appointment documents specifically are also frequently used for asynchronous appointments. For more information on that, click here. Document Upload EmailsWhen a document is uploaded to an appointment, an email can be automatically sent to the student, consultant, and/or center notifying them of this action. These emails support Twig and HTML, more information on utilizing Twig tags can be found in our dedicated Twig article. Documents ListingIn addition to accessing documents from appointments, visits, or user timelines, there's also a dedicated listing page for them. This can be accessed by going to Other > Listings > Documents. Documents can be uploaded here and manually linked to staff members as needed.
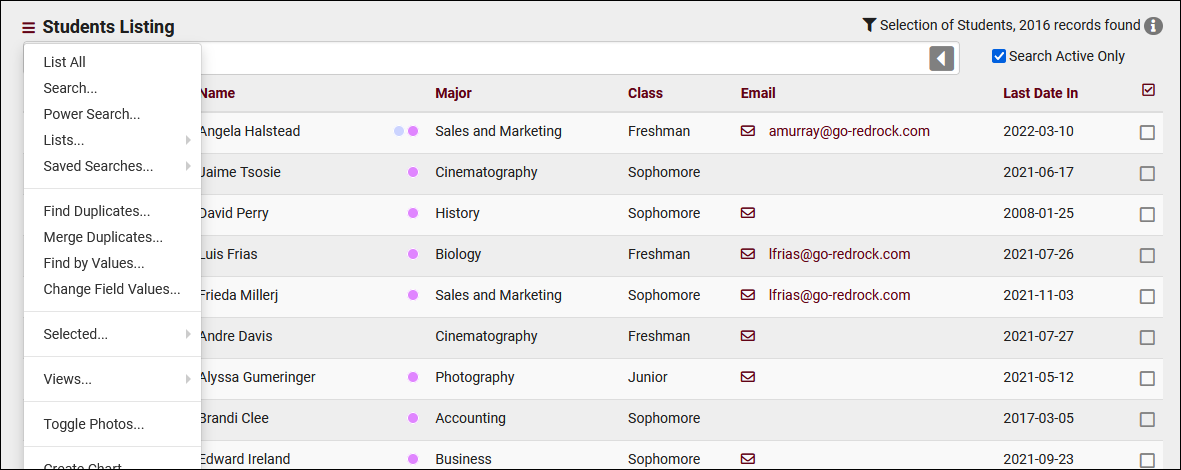
Hamburger MenuEvery listing page in the Trac System features a hamburger menu with utilities to search for or interact with your list of records. Some of these options are specific to a certain listing/record-type, others are shared. The following list includes definitions for the hamburger menu options available on this listing, and how they can be utilized.
|

