TracCloud: Student Entry Choices
From Redrock Wiki
Student Entry Choices
This menu allows you to determine which student data fields are visible to staff and accessible in reports, such as Class, College, Ethnicity, Gender, and more. You can also determine how some of these fields display and what choices are available. For information on Custom Student Entry fields, see our dedicated Custom Fields article.
- Student Status
- Determines which statuses allow students to be logged in on the Log Listing/Kiosk. Active status students can be logged in, while Inactive statuses prevent logins. If a student is going to be logging in and booking appointments themselves, their status must be “Active.”
- Determines which statuses allow students to be logged in on the Log Listing/Kiosk. Active status students can be logged in, while Inactive statuses prevent logins. If a student is going to be logging in and booking appointments themselves, their status must be “Active.”
- Next ID Value
- When creating new student accounts manually and allowing TracCloud to assign IDs, this setting determines the next ID the Trac System will use. For example, if your imported student ID range is 0000001 to 999999, you can set this to 1000000 to prevent manually created students from possibly conflicting with imported accounts later on.
- When creating new student accounts manually and allowing TracCloud to assign IDs, this setting determines the next ID the Trac System will use. For example, if your imported student ID range is 0000001 to 999999, you can set this to 1000000 to prevent manually created students from possibly conflicting with imported accounts later on.
- Show Which ID on Dropsearch
- Display [Field Name]
- This option determines whether or not the field is displayed in the student’s profile or in reports. For example, maybe Ethnicity isn’t an important data point for your campus, we can hide that to simplify our staff view of student profiles and reduce the number of options available in reports.
- If a staff member has the ability to edit student profiles, they will also be able to modify the fields selected here.
- [Field Name] Choices
- This determines the available options for a field. For example, a drop-down list of Gender or Major options that can be easily selected by staff, or even students themselves via Confirm Bio.
- Menu?
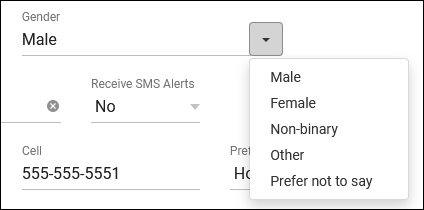
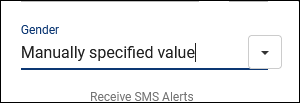
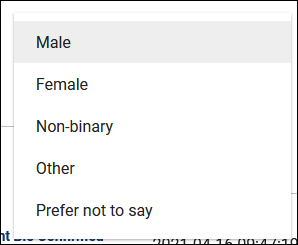
- This checkbox determines how the available choices are displayed, and whether or not a staff member can type in a custom value. Unchecked, the choices will appear in a drop-down menu from the right-side of the field, or I can click in the text box and type something else. Alternatively, with “Menu” checked, clicking anywhere in the field will open a menu of choices, and I am unable to write-in my own.
- Unchecked:


- Checked:


- Custom Tab Name
- This setting determines the names of the custom tabs within students’ profiles. These tabs will contain custom fields that you have configured.
- This setting determines the names of the custom tabs within students’ profiles. These tabs will contain custom fields that you have configured.
- ID Format Code
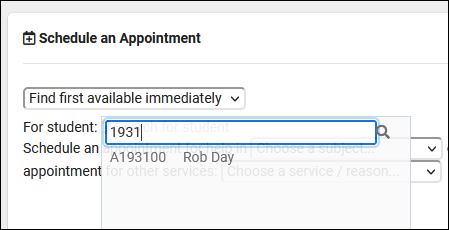
- Student ID is a numeric value, this option can change how the ID displays on the student listing to visually include alphanumeric characters. See examples below.
| Format Code | How it displays | Description |
| %0d | 1931 | No changes from numeric value. |
| %05d | 01931 | Convert to 5-digit format with leading zeros. |
| %08d | 00001931 | Convert to 8-digit format with leading zeros. |
| A%08d | A00001931 | Add leading A and convert to 8-digit format. |
- Allow Profile Admins to Create / Modify Student Lists
- By default, only SysAdmins are allowed to create or make batch changes to student lists. If this option is checked, Profile Admins will be allowed to do so as well.
- By default, only SysAdmins are allowed to create or make batch changes to student lists. If this option is checked, Profile Admins will be allowed to do so as well.
- Show the Center Visits Tab on Main Menu to Students
- Adds a dashboard widget allowing students to view their own recent visits.
- Adds a dashboard widget allowing students to view their own recent visits.
- Show/Allow Student Dashboard Documents on Main Menu to Students
- Allows students to view and upload documents to their own profile.


