TracCloud: Log Listing Message, KIOSK Notices, and Custom KIOSKs: Difference between revisions
From Redrock Wiki
No edit summary |
No edit summary |
||
| Line 77: | Line 77: | ||
Custom kiosks can be configured for specific visit scenarios. If all students logging into a certain center are visiting for a specific reason, you can assign the Kiosk to the reason instead of each individual student visit. The same applies to Consultant and Location. | Custom kiosks can be configured for specific visit scenarios. If all students logging into a certain center are visiting for a specific reason, you can assign the Kiosk to the reason instead of each individual student visit. The same applies to Consultant and Location. | ||
<br> | <br> | ||
[[File: | [[File:2139770.png|800px]] | ||
<br><br> | <br><br> | ||
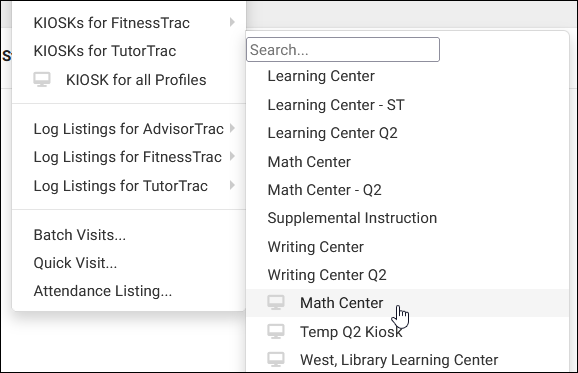
These custom kiosks can be accessed from the same menu as your standard center kiosks. They will appear in the bottom half of the list, separated by a horizontal line. The only visual difference within the kiosk is that any fields preselected in the custom kiosk menu won’t show up during student logins, as the visits will already be assigned to that Center/Reason/Consultant/Location. | These custom kiosks can be accessed from the same menu as your standard center kiosks. They will appear in the bottom half of the list, separated by a horizontal line. The only visual difference within the kiosk is that any fields preselected in the custom kiosk menu won’t show up during student logins, as the visits will already be assigned to that Center/Reason/Consultant/Location. | ||
<br> | |||
<b>Allow Only Custom KIOSKs for Logging</b> disables the preset center kiosk options that you would see by default. | |||
<br> | <br> | ||
[[File:46j46j4h3g3h53j3.png|500px]] | [[File:46j46j4h3g3h53j3.png|500px]] | ||
|} | |} | ||
{{DISPLAYTITLE:<span style="position: absolute; clip: rect(1px 1px 1px 1px); clip: rect(1px, 1px, 1px, 1px);">{{FULLPAGENAME}}</span>}} | {{DISPLAYTITLE:<span style="position: absolute; clip: rect(1px 1px 1px 1px); clip: rect(1px, 1px, 1px, 1px);">{{FULLPAGENAME}}</span>}} | ||
Revision as of 22:46, 17 August 2021
Profile Preferences
Prefs
|
Log Listing Message, KIOSK Notices, and Custom KIOSKs This portion of your preferences contains additional options relating to the Log Listing, KIOSKs, and more. NoticesA notice can be configured to display on KIOSKs and the Log Listing page. This message can display information that may be useful to staff and students who are trying to login. This message also supports HTML, so you can use bold or italics tags to adjust the visibility of your message. Here’s an example of a message we can include.
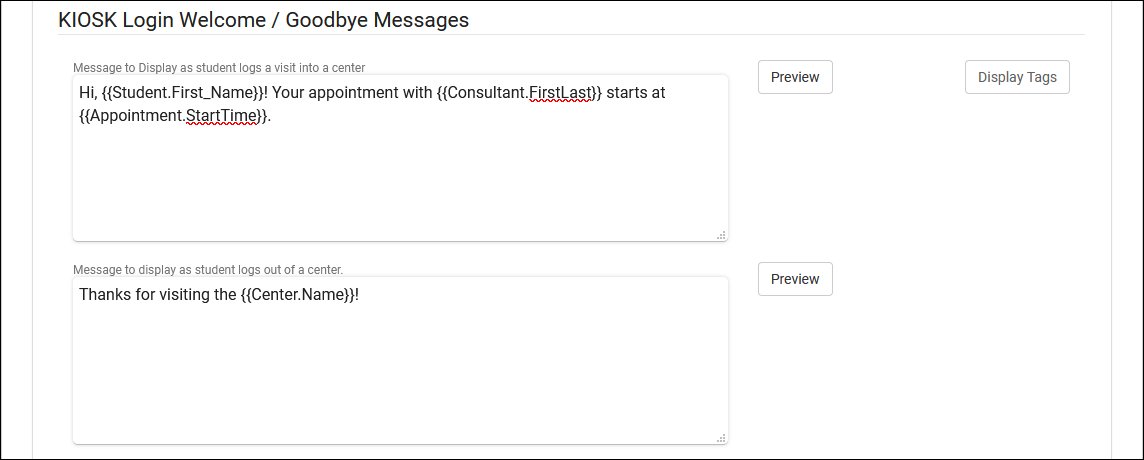
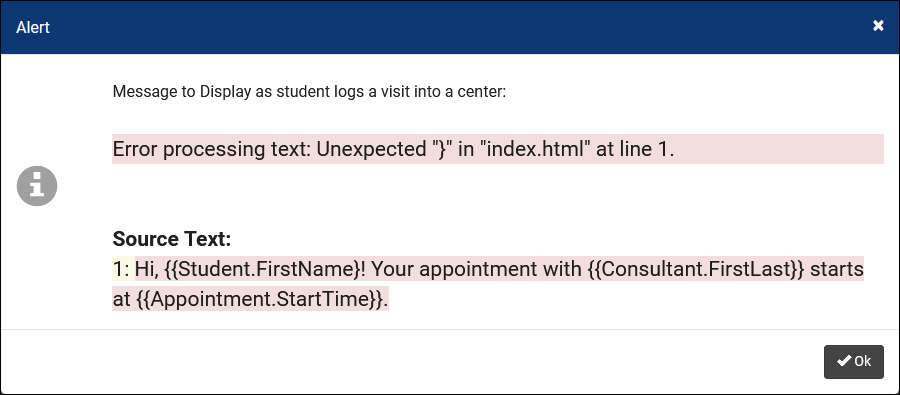
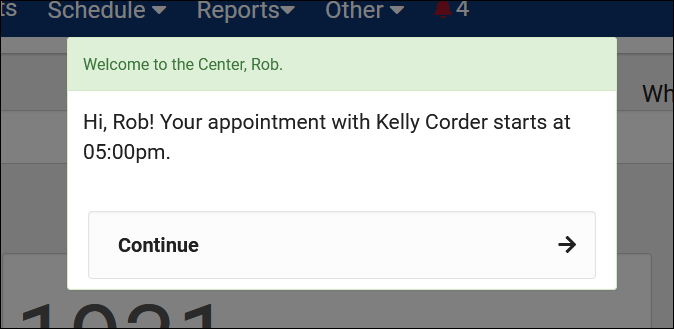
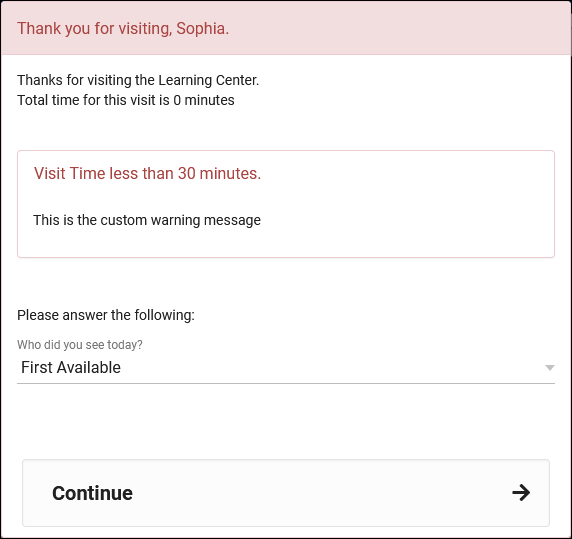
Kiosk Login Welcome / Goodbye MessagesThese are custom, Twig & HTML-supported messages that can be displayed during the login/logout process on the KIOSK or Log Listing. This allows you to display information to the student while they’re logging in, maybe their upcoming appointment information or contact info for the consultant, this is up to you. For more information on Twig, take a look at our dedicated Twig article.
Auto Terminate Visits Longer Than:If students forget to log out, an automatic process that runs overnight can end these visits and set them to a predetermined duration. For example, any student who is still logged in by 1am probably isn’t actually in the center anymore, so let’s go ahead and end their visit and set it to 60 minutes instead.
Other Log In/Out Preferences
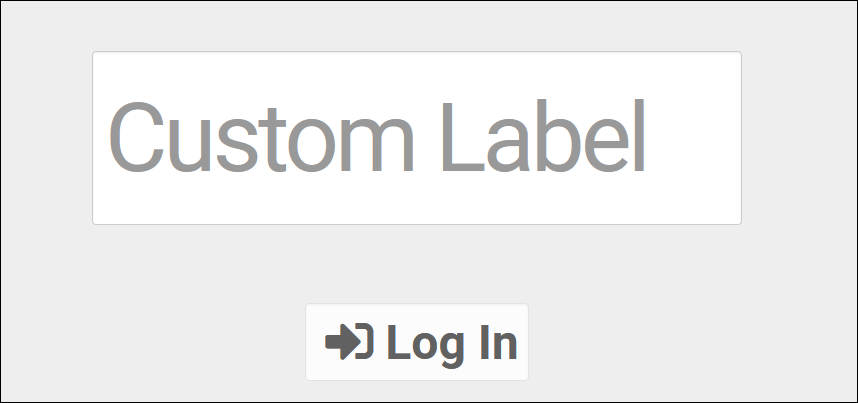
Custom KIOSK OptionsCustom kiosks can be configured for specific visit scenarios. If all students logging into a certain center are visiting for a specific reason, you can assign the Kiosk to the reason instead of each individual student visit. The same applies to Consultant and Location.
|


