TracCloud: Announcements
From Redrock Wiki
(Redirected from TracCloud: Announcements)
Global Preferences
Announcements are messages that can be displayed to different users on the TracCloud dashboard. These messages can be set to only display during a specified date range, and can be formatted in a number of different ways to better support your use-case. Announcements can also contain polls, allowing users to answer quick questions on the main menu.

Creating a New Announcement
As a SysAdmin, go to Other ➜ Other Options ➜ Announcements. Here you will find the announcement listing, showing any previously created announcements. To create a new message, click the hamburger icon and select "New Announcement."

This will bring you to the following screen.

- Header
- This is the title of the Announcement. This is visible even when the message is collapsed.
- This is the title of the Announcement. This is visible even when the message is collapsed.
- Start / End
- This is the start and end date of this announcement. For example, if you have a notice that your campus is closed on an upcoming day, you can have the announcement expire on that day when it's no longer relevant. If left blank, the announcement will always be visible.
- This is the start and end date of this announcement. For example, if you have a notice that your campus is closed on an upcoming day, you can have the announcement expire on that day when it's no longer relevant. If left blank, the announcement will always be visible.
- Days
- Choose the days that this announcement displays on. All are enabled by default, so it will be shown every day of the week between the start date and the end date. The announcement can also be shown bi-weekly if preferred.
- Choose the days that this announcement displays on. All are enabled by default, so it will be shown every day of the week between the start date and the end date. The announcement can also be shown bi-weekly if preferred.
- Active From / Active To
- Choose the time of day that this announcement is shown. Blank by default, which will show all day for each day the announcement is enabled for.
- Choose the time of day that this announcement is shown. Blank by default, which will show all day for each day the announcement is enabled for.
- Students / Instructors / Staff (excl. Consultants) / Consultants
- This determines the user types that are shown this announcement. If student is checked, you will be provided three additional options, as noted below.
- Show on Dashboard
- This will display the announcement on the dashboard, as seen in the first screenshot of this article.
- This determines the user types that are shown this announcement. If student is checked, you will be provided three additional options, as noted below.
- Show on KIOSK
- This will display the announcement during the KIOSK/Log Listing login process, at the same step where the kiosk welcome message appears.
- Student list
- If a student list is selected here, only students on that list will be able to see this announcement.
- If a student list is selected here, only students on that list will be able to see this announcement.
- Type
- This determines the color of the text box. Warning , Notice , Alert , Success .
- This determines the color of the text box. Warning , Notice , Alert , Success .
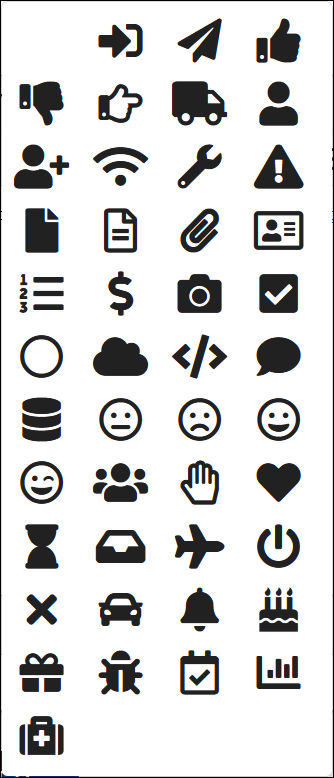
- Icon
- The selected icon will appear in the top-left corner of the Announcement.

- Profile
- Choose the profile this announcement is linked to. This determines which staff can see this announcement based on what profile their group is assigned to, and which kiosks this announcement can appear on based on the center. Additionally, the announcement will follow the selected profile's time zone rather than the system time zone (if it differs).
- Choose the profile this announcement is linked to. This determines which staff can see this announcement based on what profile their group is assigned to, and which kiosks this announcement can appear on based on the center. Additionally, the announcement will follow the selected profile's time zone rather than the system time zone (if it differs).
- Text Body
- This is the actual body of the announcement. This can be written with the WYSIWYG editor, or using HTML with the Source Code option under Tools.
To turn your announcement into a poll, go to the second tab and check "Activate as Poll." The following options will become available. Results will also be shown on this page as they're received.

- Poll Choices
- List out the answers that recipients can choose from. You can have as many choices as you need.
- List out the answers that recipients can choose from. You can have as many choices as you need.
- Orientation
- Choose how answers are displayed, vertically or horizontally.
- Choose how answers are displayed, vertically or horizontally.
- Allow multiple answers
- Choose if recipients can only select one choice (radio options) or multiple (multi-checkbox).
Once created, the target users will see the announcement as a poll on the dashboard. After submitting a response, they will be able to see poll results as a bar chart.


See Also