TracCloudWB
From Redrock Wiki
|
|
WhiteboardWhat is Whiteboard?
How do I set up Whiteboard?
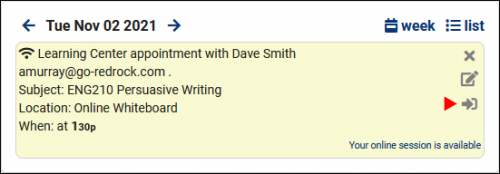
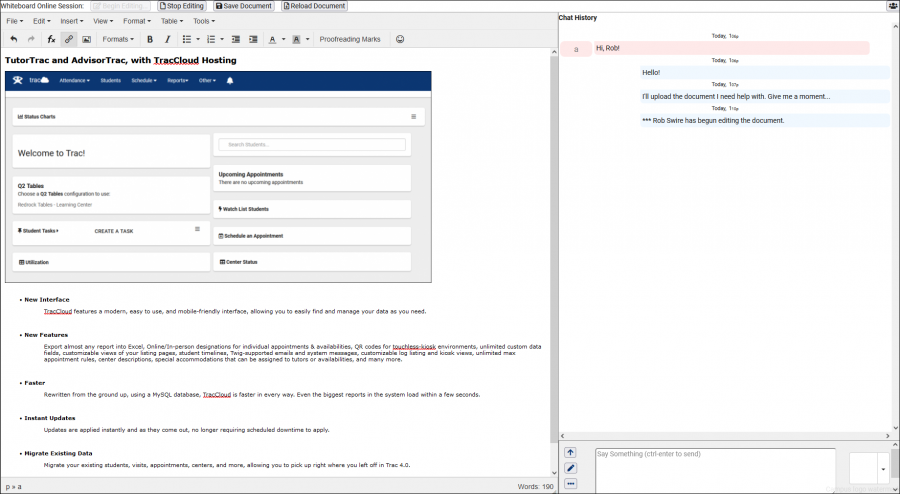
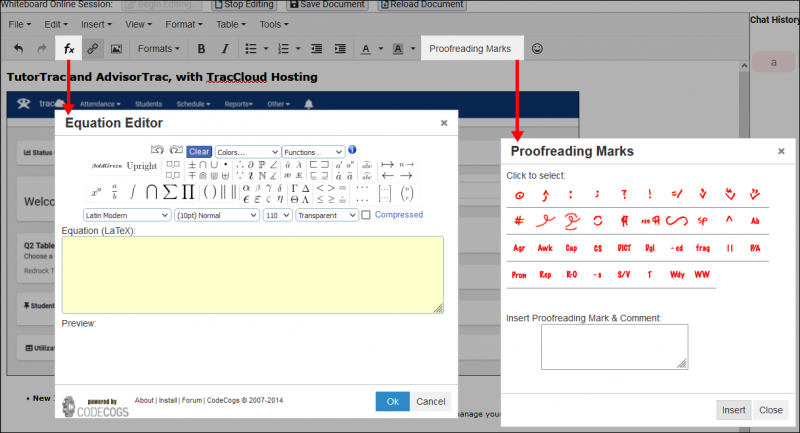
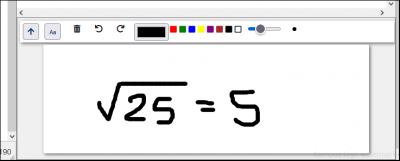
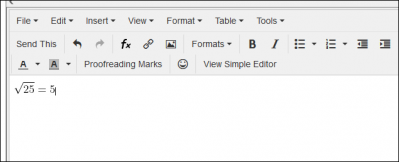
Step 1. Configuring your Availabilities When configuring your availabilities, you can set the Online URL to "Whiteboard," and the Trac System will handle the rest. If "Whiteboard" isn't an available option, go to Other > Other Options > Preferences > System Preferences, and ensure "Whiteboard" is listed in the Default Online Options box. Step 2. Joining the Session Once the online room is available (as determined by your Scheduling Prefs), the "Join Online Session" button under Upcoming Appointments for both Staff Members and Students will redirect to the Whiteboard room. Alternatively, staff members can also join the room through the appointment record itself from the schedule view. Step 3. Whiteboard Functionality After joining the Whiteboard session, you'll be taken to a screen that looks something like this. This is where we can talk with our consultant over text chat and begin creating/modifying our document. On the left-side of the screen, we have the Live Document editor. This screenshot shows the student editing their document, once they're finished, the student clicks "Save Document" and "Stop Editing" to pass that document over to the tutor for further assistance. In addition to the expected text editor options, we also have a few additional tools such as as an Equation Editor and Proofreading Marks. On the right-side of the screen, we have our Text Chat. We can of course send simple messages here as expected, but we also have other options available with the icons on the left-side of the text entry field. The Pencil icon provides a drawing board, letting us draw something out if needed. We also have a rich text editor available through the ellipses icon, even including the same Equation Editor from the full document view. |
