TracCloud: Prospective Students: Difference between revisions
From Redrock Wiki
No edit summary |
No edit summary |
||
| Line 62: | Line 62: | ||
[[File:2712916.png|800px]]<br><br> | [[File:2712916.png|800px]]<br><br> | ||
Clicking this option will display a prompt to either log in (having already signed up as a prospective student) or create a new prospect (signing up for the first time). | |||
[[File:5841123.png|800px]]<br><br> | |||
[[File: | From the perspective of a new prospective student, they'll click the 'Create Prospect' button and choose to either signup via email or text (the latter requiring the TextAlerts module{#fas:warning}). Following through with this, they will receive a link in their inbox with instructions on what to do next. | ||
[[File:9572318.png|500px]]<br><br> | |||
</div> | </div> | ||
Revision as of 18:46, 15 April 2024
This page is still in progress! Come back later to learn more.
Prospective Students
Description
Profile Pref: Allow user to generate prospect
Group Prefs: Allow user to create prospective student requests
Group Prefs: Table Access
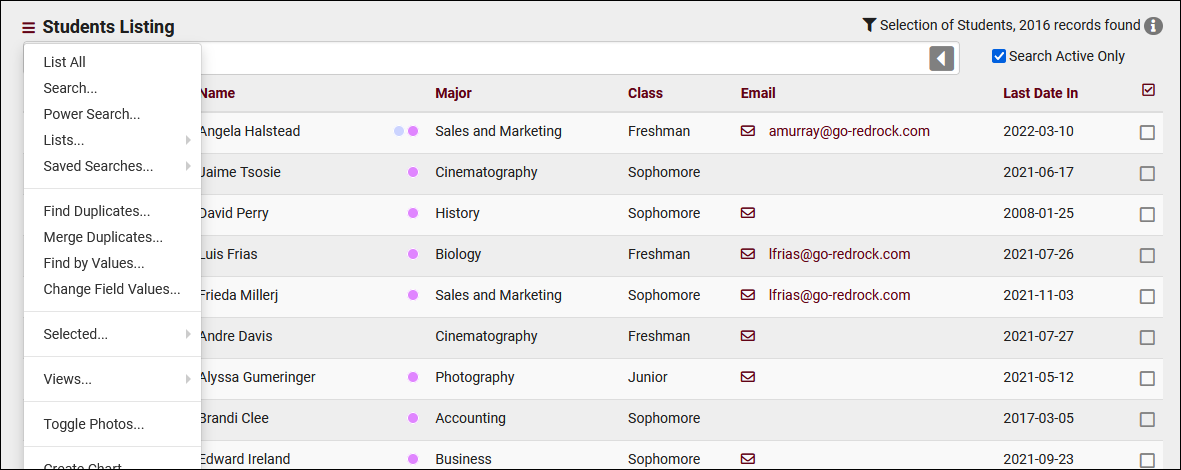
Prospective Students from Students Listing
Log Listing Display
Prospect Requests listing
Other Status explanation and use
Other > Other Options > Preferences > Prospective Student Settings
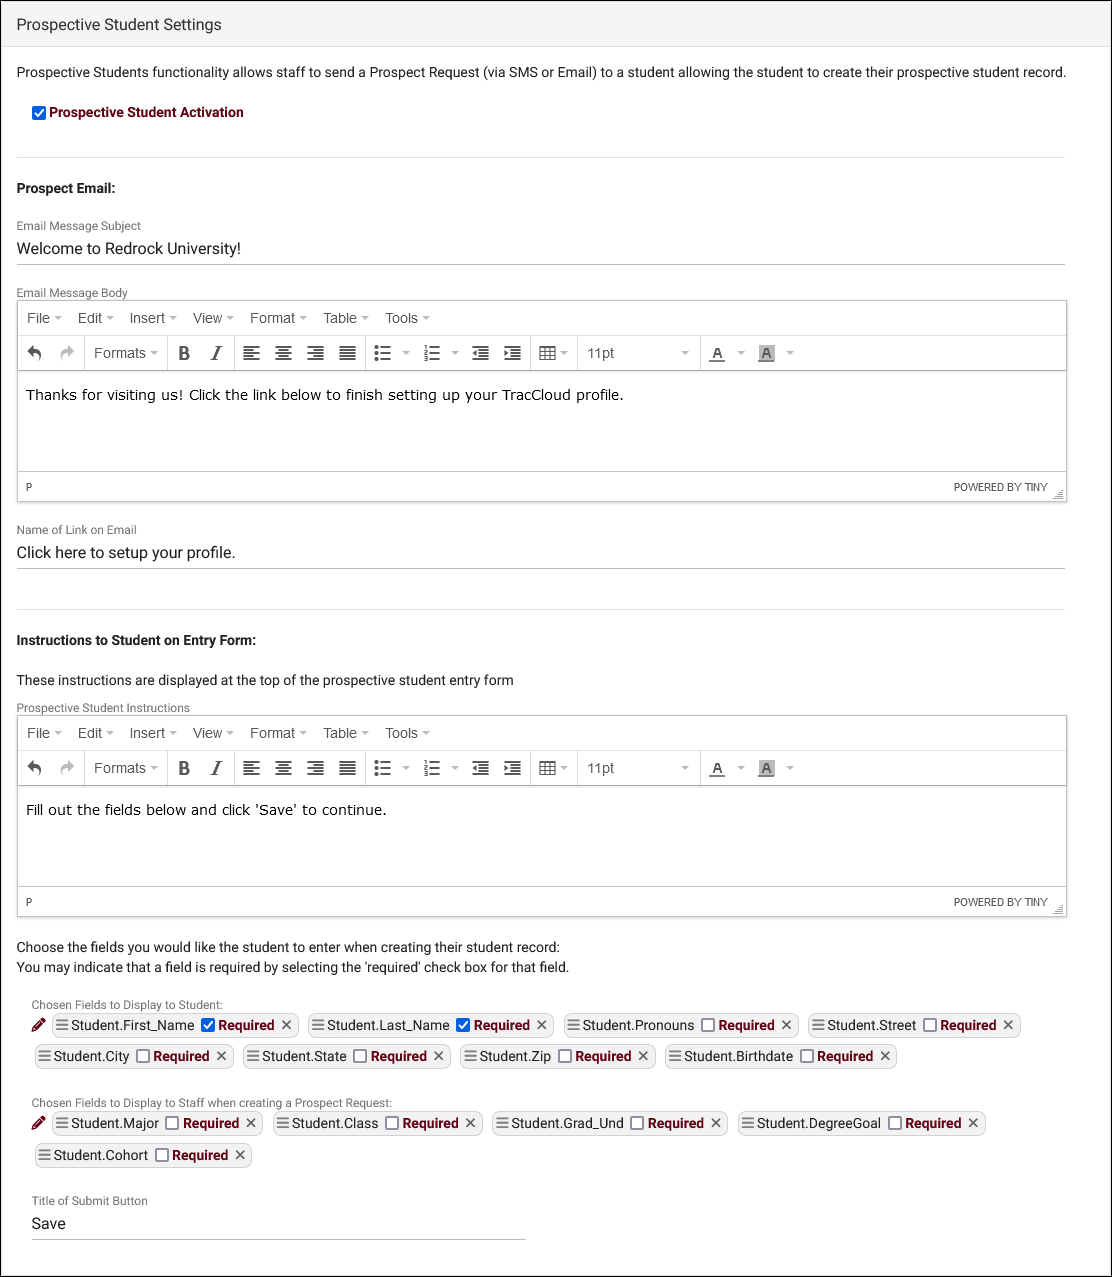
- Prospective Student Activation
- This enables the new "Prospective Student Request" option on the students listing for staff with the appropriate permissions.
- This enables the new "Prospective Student Request" option on the students listing for staff with the appropriate permissions.
- Prospect Email
- Configure the email that students receive after signing up as a prospective student. The link they receive in this email will also allow them to login to TracCloud later. If left blank, the subject will be "New Student Email" and the body will be "Welcome to the Campus, click the link below to begin setting up your profile record."
- Configure the email that students receive after signing up as a prospective student. The link they receive in this email will also allow them to login to TracCloud later. If left blank, the subject will be "New Student Email" and the body will be "Welcome to the Campus, click the link below to begin setting up your profile record."
- Name of Link on Email
- Override the hyperlink name that students click on to complete sign up. Defaults to "Click here to fill out a profile" if left blank.
- Override the hyperlink name that students click on to complete sign up. Defaults to "Click here to fill out a profile" if left blank.
- Instructions to Student on Entry Form
- The student will see this text above the fields to fill out on the prospect student entry form.
- The student will see this text above the fields to fill out on the prospect student entry form.
- Chosen Fields to Display to Student
- These are the fields that your students will be allowed to set for themselves from the link they receive during signup. Fields can be left blank unless 'Required' is checked.
- These are the fields that your students will be allowed to set for themselves from the link they receive during signup. Fields can be left blank unless 'Required' is checked.
- Chosen Fields to Display to Staff when creating a Prospect Request
- These are the fields that staff can fill out while creating a prospective student request from the students listing.
- These are the fields that staff can fill out while creating a prospective student request from the students listing.
- Title of Submit Button
- The name of the save button on the prospect student entry form.
Description.
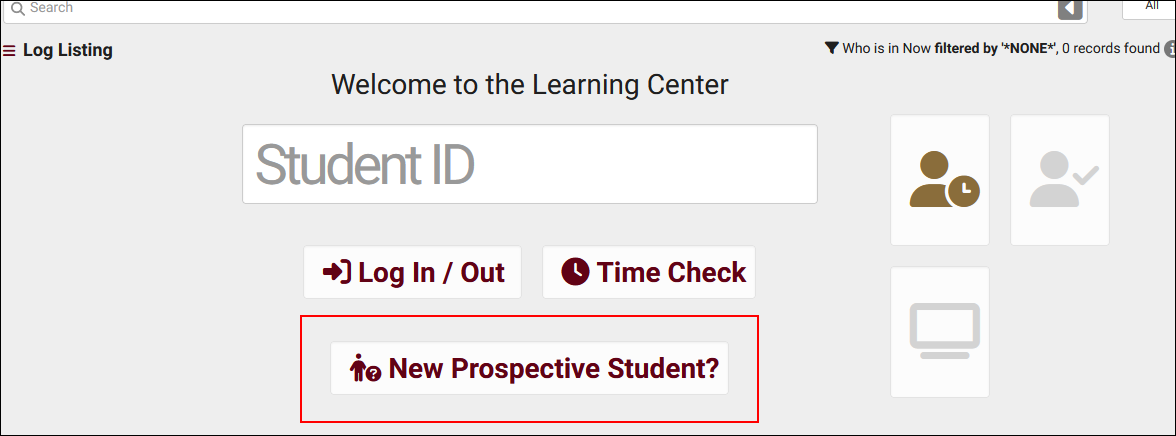
To enable this functionality, go to Other > Other Options > Profiles > [Your Profile] > Log In/Out > Check "Allow User to Generate a Prospect" > Save. Once enabled, the following button will be available on the kiosk and log listing pages for this profile's centers.
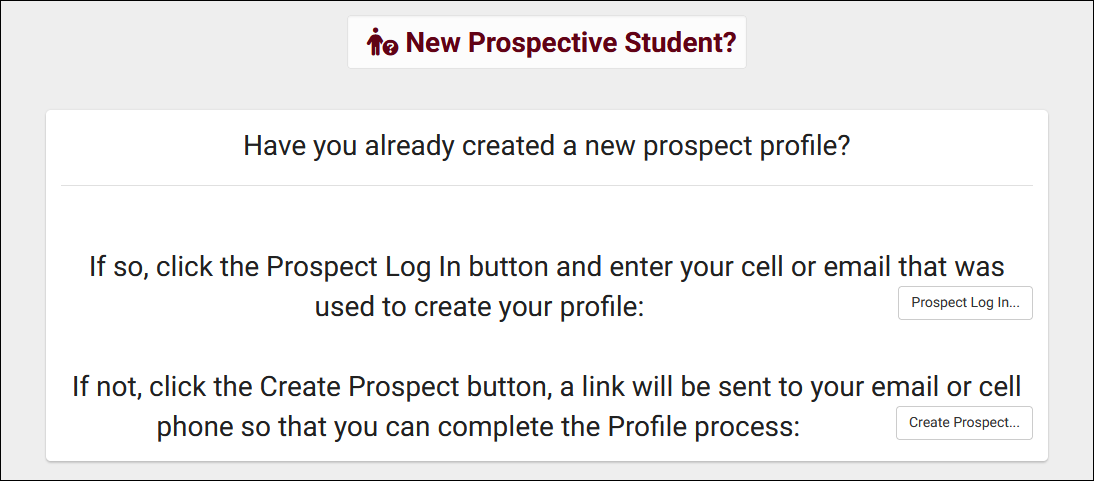
Clicking this option will display a prompt to either log in (having already signed up as a prospective student) or create a new prospect (signing up for the first time).
From the perspective of a new prospective student, they'll click the 'Create Prospect' button and choose to either signup via email or text (the latter requiring the TextAlerts module{#fas:warning}). Following through with this, they will receive a link in their inbox with instructions on what to do next.
Description. This can be accessed by going to Other > Listings > Prospect Requests.
Hamburger Menu
Every listing page in the Trac System features a hamburger menu with utilities to search for or interact with your list of records. Some of these options are specific to a certain listing/record-type, others are shared. The following list includes definitions for the hamburger menu options available on this listing, and how they can be utilized.
- List All
- This option will show all records on the current listing. Some listings have an additional toggle for only showing "Active" records, such as Students and Registrations, which will still override a "List All" search if checked.
- This option will show all records on the current listing. Some listings have an additional toggle for only showing "Active" records, such as Students and Registrations, which will still override a "List All" search if checked.
- Search
- This utility will open a pop-up window unique to each Listing it's present on, allowing you to search your records by a number of different fields.
- This utility will open a pop-up window unique to each Listing it's present on, allowing you to search your records by a number of different fields.
- Power Search
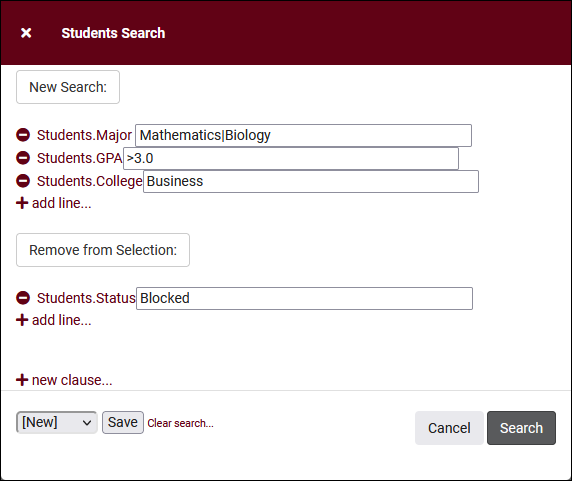
- This option provides a simple but powerful search utility to find the records you need. String together multiple searches, adding or removing results for each. Use Search Symbols to include ranges of data, and Save Searches for later use if needed. The search term 'blankornull' can be used to find all records with a value of nothing ("") or null ().
- Selected...
- The Selection Tool offers several options to filter and manage your records. More information on this feature can be found in its own dedicated article here.
- The Selection Tool offers several options to filter and manage your records. More information on this feature can be found in its own dedicated article here.
- New <Record>
- Allows you to create a new record based on your selected listing.
- Allows you to create a new record based on your selected listing.
