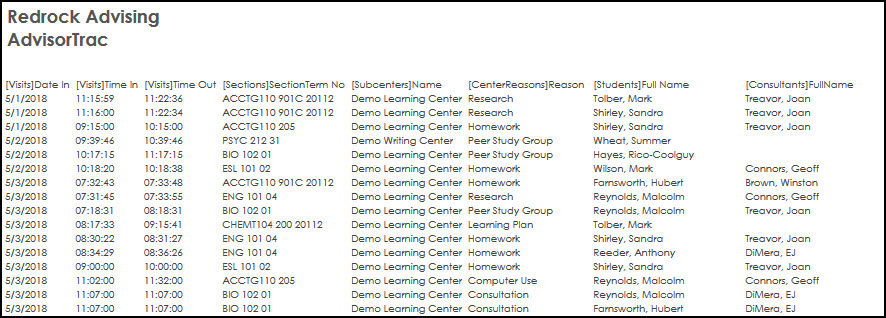
The Visits Export Report visit data by chosen fields date in, time in, time out, students, consultants, etc over a date range. Generate visit data based upon some criteria.
GENERATE THE REPORT
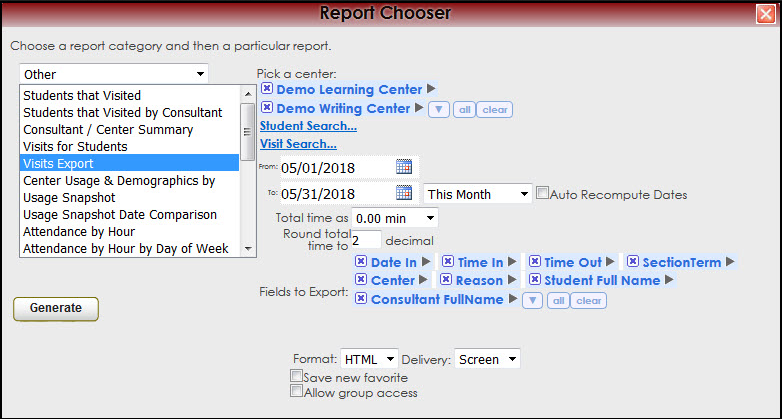
To generate the Visit Export, click on Reports from the TutorTrac Main Menu. On the Reports Chooser, select Other from the pull down list of available categories. After selecting Other, choose Visit Export. Choose center(s) then enter a date range for the time period that you would like to review in the report. Then click on the Generate Report button.


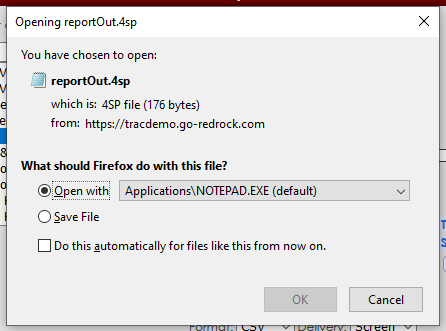
"Format: CSV" generates a .4sp file
When you generate this report as a .CSV file, it may prompt you to download a .4SP file instead. If this is the case, you can simply rename and change the file extension to ".csv" manually, or follow the steps below:

1. Enable "File name extensions"
- Changing this setting can differ based on what operating system you're using. On Windows 10, it can be found in File Explorer > "View" tab > Check "File name extensions".

2. Rename the file
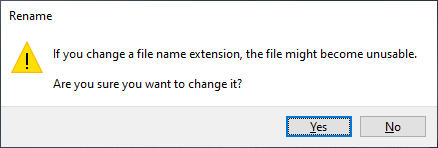
- Right Click > Rename, change ".4sp" to ".csv", then click enter.
 > > 
- Click "Yes"

And you're all set, the file can now be opened in Excel or otherwise.
|


