TracCloud: Welcome Messages
From Redrock Wiki
Welcome Messages
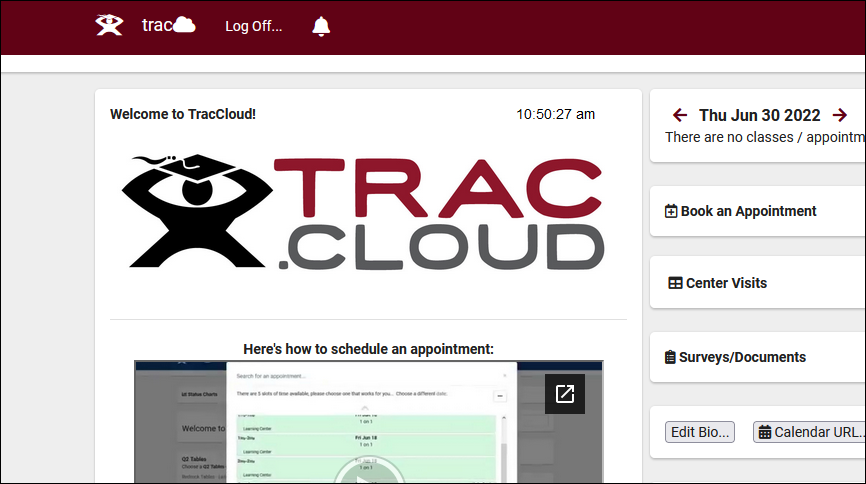
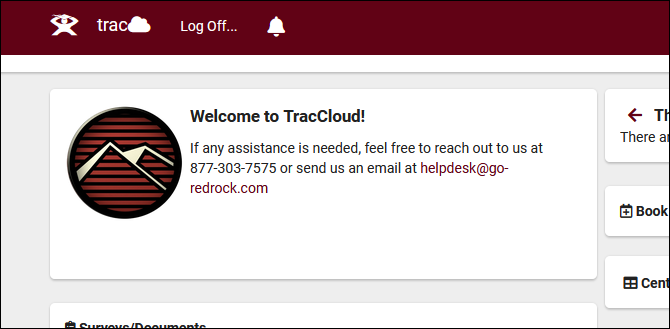
This preference allows us to add custom Twig & HTML-supported messages to staff and student dashboards. Welcome Messages can be modified by going to Other > Other Options > Preferences > Welcome Messages.
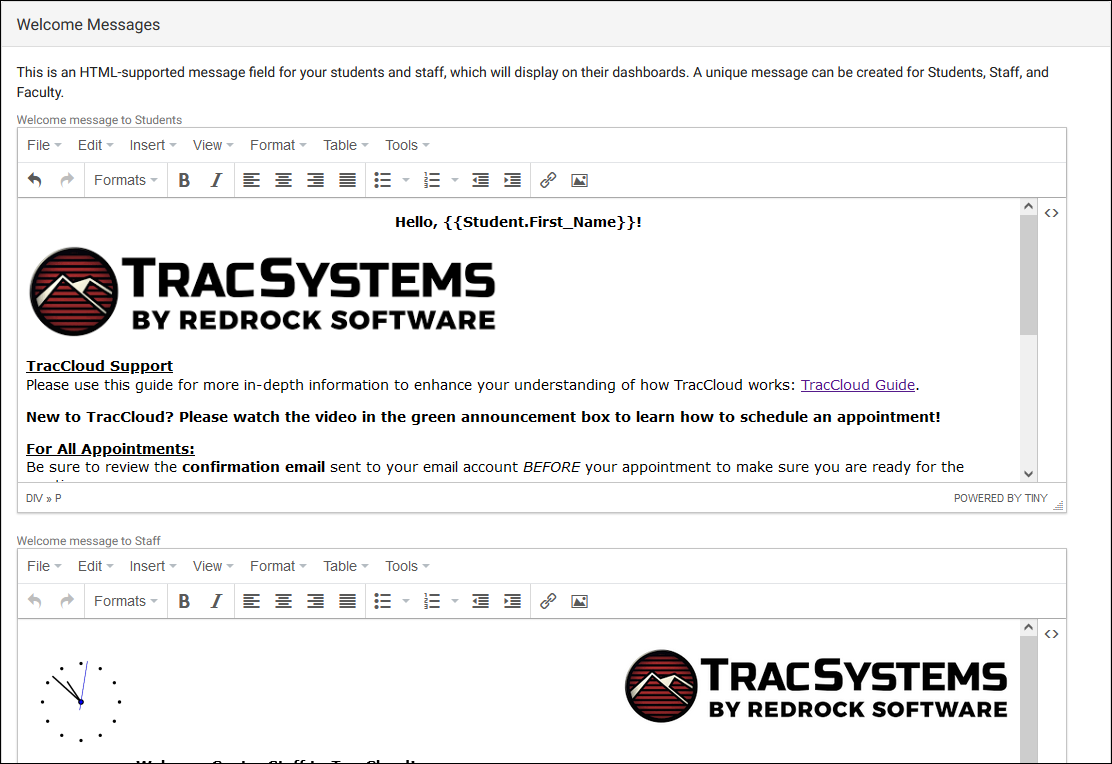
There are three separate message fields available in your System Prefs: Students, Staff, and Faculty. This allows you to create a unique message for different user-types in TracCloud. Maybe a basic welcome message for your Staff/Consultants, information about generating referrals for Faculty, and instructions on booking appointments for your students. This is completely up to you.
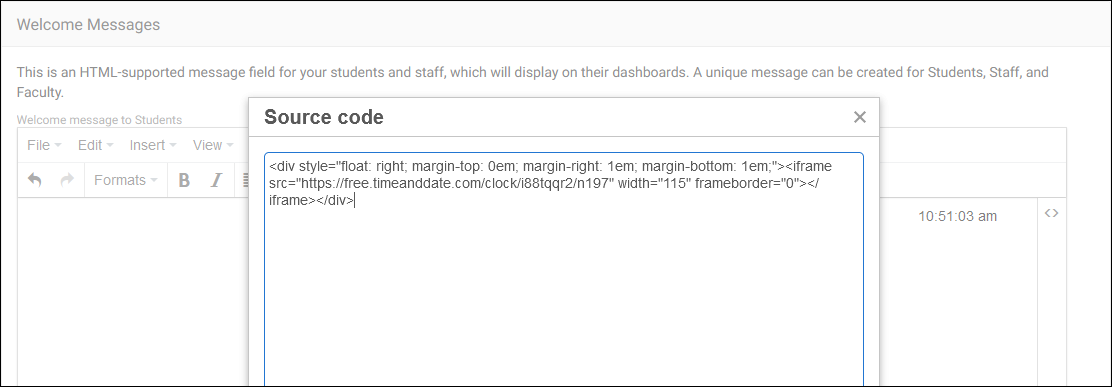
The built-in text editor allows you to write out any message you'd like, but you can modify the HTML source of your message by clicking on Tools > Source Code. TracCloud supports HTML5, meaning we can embed virtually anything, from videos to documents, even online clocks, directly into the dashboards of our students and staff. The recommended max width for these elements is 500px.
The entire Welcome Message can be written in the Source Code tool, or you can simply use it to add to or fine-tune what you already have in place.
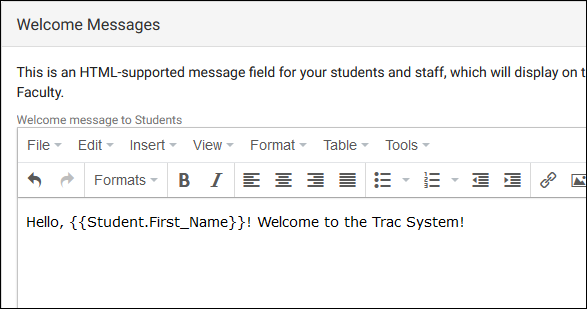
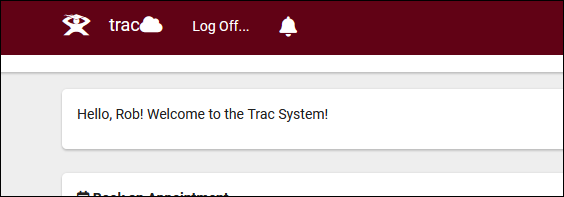
In addition to HTML, Twig can also be utilized to pull student/staff data into the message. For example, you can create a personalized message for your students with something like this:
For more information on Twig, take a look at our dedicated Twig article.
Hosting an image on TracCloud to embed in your Welcome Message
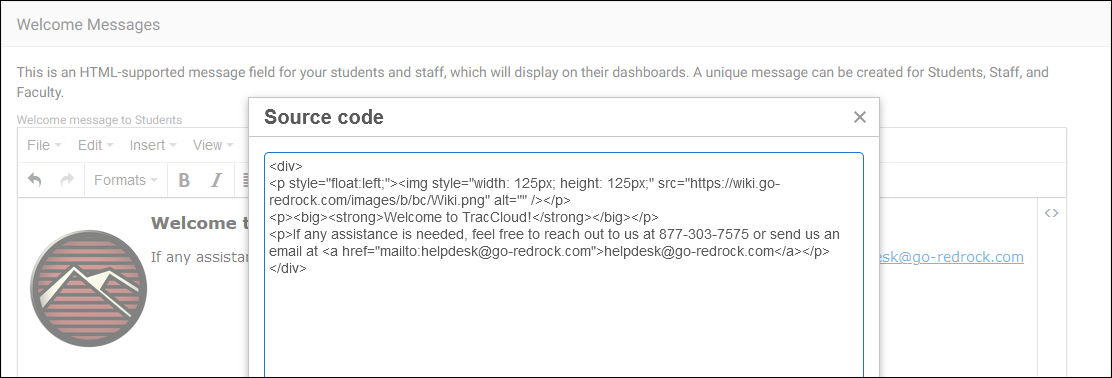
Embedding an image in your Welcome Message requires use of the img or iframe tags in HTML, pointing to a link for the image you want to use. In the event that you aren't able to host your image on an external service or are having trouble embedding the image you have available, this will walk you through hosting the image on TracCloud instead.
1. Uploading the Image
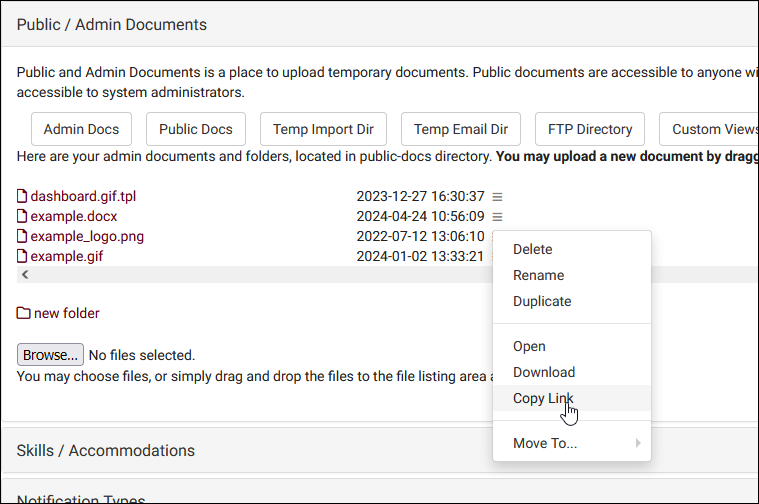
- Go to Other > Other Options > Preferences > Public / Admin Documents > Public Docs and drag-and-drop your image file into this folder. Any files uploaded here will be publicly accessible for those who have the URL, which is exactly what we need for an image like this. After upload, copy the link using the hamburger menu.
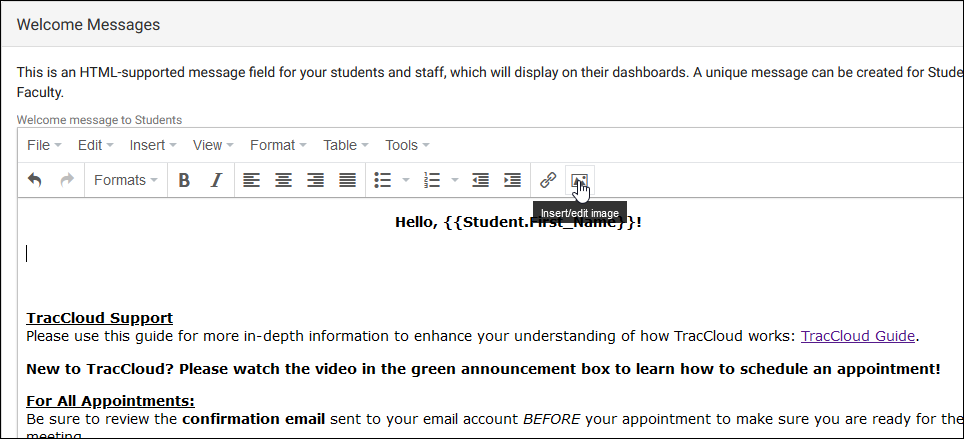
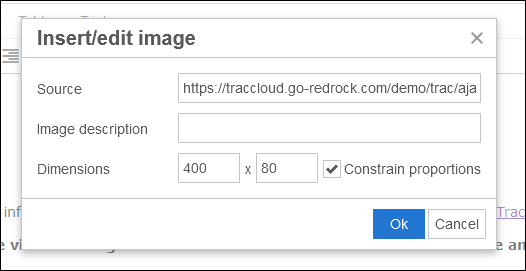
2. Embed the Image in Your Welcome Message
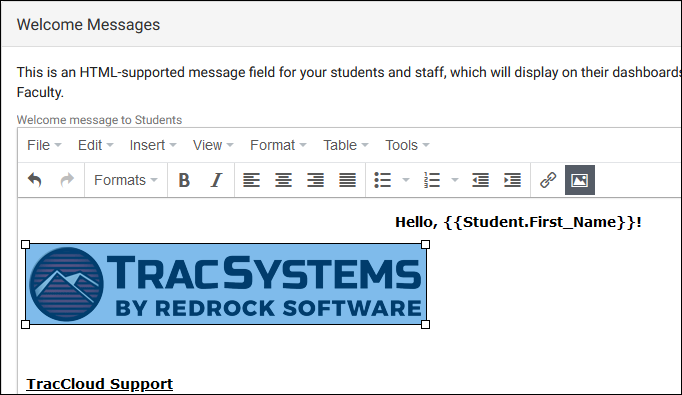
Click 'Ok' and you're all set. The image will appear in the standard Text Editor for you to further adjust or write around.
See Also
