TracCloudGuideBasicsNonEnrolled: Difference between revisions
From Redrock Wiki
No edit summary |
No edit summary |
||
| Line 5: | Line 5: | ||
{| style="width:100%; vertical-align:top; " | {| style="width:100%; vertical-align:top; " | ||
<big><b>Creating Non-Enrolled Courses in TracCloud</b></big><br> | <big><b>Creating Non-Enrolled Courses in TracCloud</b></big><br> | ||
Non-Enrolled courses can be useful in allowing students without registrations (or without a relevant registration) to still receive tutoring assistance when needed. This | Non-Enrolled courses can be useful in allowing students without registrations (or without a relevant registration) to still receive tutoring assistance when needed. This article will be going over the process of creating one of these non-enrolled courses. | ||
<br> | <br> | ||
==1. Creating a Course== | ==1. Creating a Course== | ||
Revision as of 16:55, 30 November 2021
Getting Started / Basics |
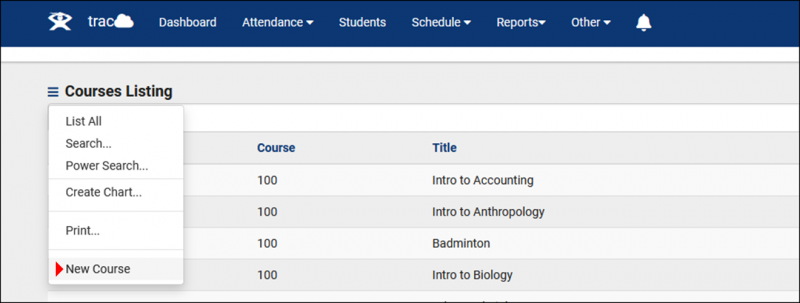
Creating Non-Enrolled Courses in TracCloud Non-Enrolled courses can be useful in allowing students without registrations (or without a relevant registration) to still receive tutoring assistance when needed. This article will be going over the process of creating one of these non-enrolled courses. 1. Creating a CourseFirst, we need to create the course that are section is going to be assigned to. Start by going to Other > Listings > Courses > New Course. 2. Creating a TermOur section will need to be assigned to a term. While we could technically assign it to our currently active term, this may not be ideal, since we would need to create a new section each semester. For a case such as this, let’s create a generic term that we can leave active.
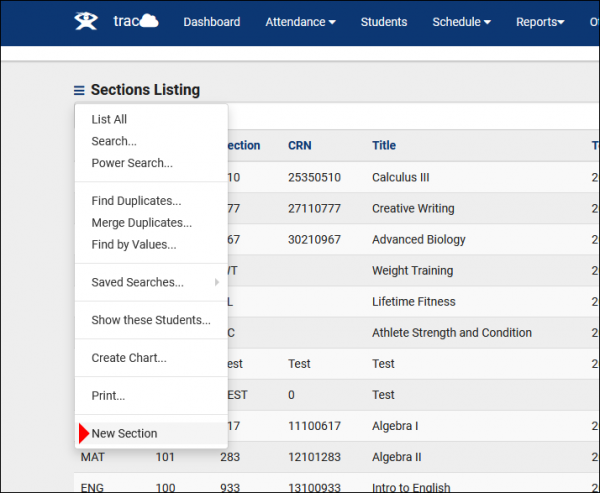
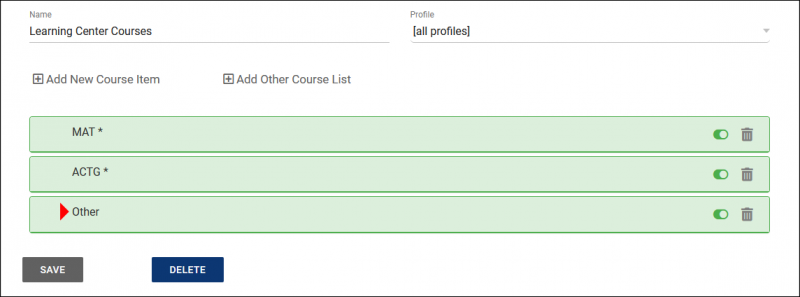
3. Creating a SectionNext up, we need to create the section that staff and students can select. Go to Other > Listings > Sections > New Section. 4. Update your Course ListsLastly, you’ll need to update your Course Lists to ensure that your course is assigned to your Centers and your Consultants.
Other > Listings > Course Lists > [Your Course List]
|


