TracCloud: Log Listing Customization: Difference between revisions
From Redrock Wiki
m Protected "TracCloud: Log Listing Customization" ([Edit=Allow only administrators] (indefinite) [Move=Allow only administrators] (indefinite)) |
No edit summary |
||
| Line 7: | Line 7: | ||
The [[TracCloudGuideBasicsVisits|Log Listing and Kiosk]] views of TracCloud can be easily customized, determining what data shows up and how it displays. Whether you only need a couple fields visible, or you need a lot of information but want to make sure one element is more prominently displayed than others, this article will explain exactly how to accomplish this. | The [[TracCloudGuideBasicsVisits|Log Listing and Kiosk]] views of TracCloud can be easily customized, determining what data shows up and how it displays. Whether you only need a couple fields visible, or you need a lot of information but want to make sure one element is more prominently displayed than others, this article will explain exactly how to accomplish this. | ||
<br><br> | <br><br> | ||
These settings can be found in your Profile Preferences under the <b>Log In/Out</b> prefs. Your Kiosk and Visit Log List views can be customized separately, but the method for modifying them is the same. | These settings can be found in your Profile Preferences under the <b>Log In/Out</b> prefs. Your Kiosk, Queue, and Visit Log List views can be customized separately, but the method for modifying them is the same. | ||
<br> | <br> | ||
[[File: | [[File:5107088.png|800px]] | ||
<br><br> | <br><br> | ||
To begin, let’s start from scratch, with just one empty row visible. Left-clicking the row brings up a menu that lets us select what we want to add, from fields to additional rows. | To begin, let’s start from scratch, with just one empty row visible. Left-clicking the row brings up a menu that lets us select what we want to add, from fields to additional rows. | ||
Revision as of 17:59, 25 July 2023
Profile Preferences
Prefs
|
Log Listing Customization The Log Listing and Kiosk views of TracCloud can be easily customized, determining what data shows up and how it displays. Whether you only need a couple fields visible, or you need a lot of information but want to make sure one element is more prominently displayed than others, this article will explain exactly how to accomplish this. These settings can be found in your Profile Preferences under the Log In/Out prefs. Your Kiosk, Queue, and Visit Log List views can be customized separately, but the method for modifying them is the same. File:5107088.png To begin, let’s start from scratch, with just one empty row visible. Left-clicking the row brings up a menu that lets us select what we want to add, from fields to additional rows. 

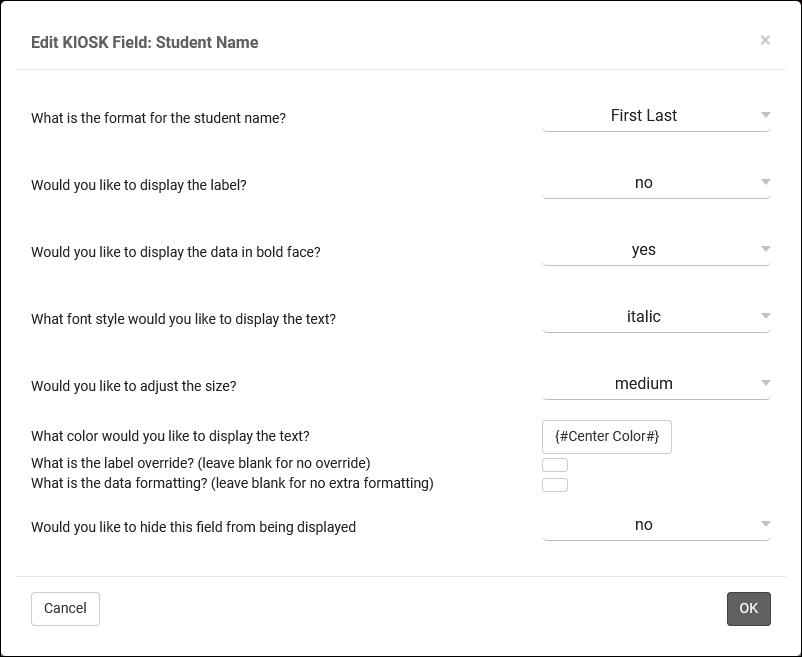
 Which will cause our log listing to display as such. A couple field-specific changes were also made, such as the “Student Name” field being set to display in bold italics.  As another example, let’s say we want the student photo more centered, their personal information on the left, and their visit information on the right. Here’s what that configuration might look like:  Which displays as:  And one more quick example before we take a look at tiles, here’s a more minimalist log listing, only including a small amount of information in a more compact space.   Vertical List vs TilesAll of the examples shown so far have been using the default “Vertical List” layout, which displays each student on their own row on the log list. |


