TracCloud: Q2 Tables: Difference between revisions
From Redrock Wiki
No edit summary |
No edit summary |
||
| Line 101: | Line 101: | ||
|} | |} | ||
Revision as of 21:50, 30 November 2021
Additional Features
|
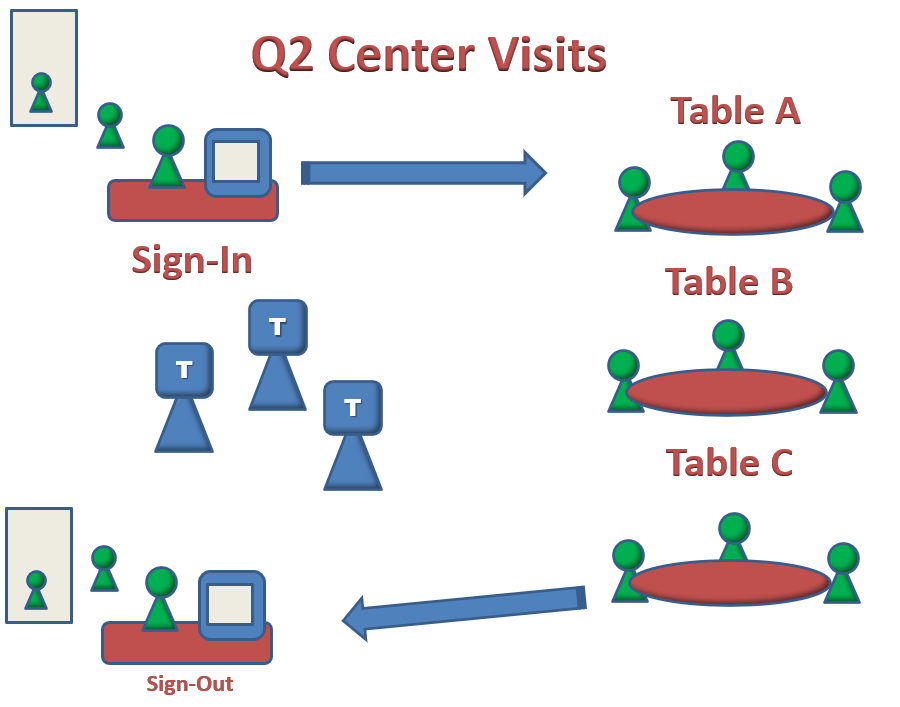
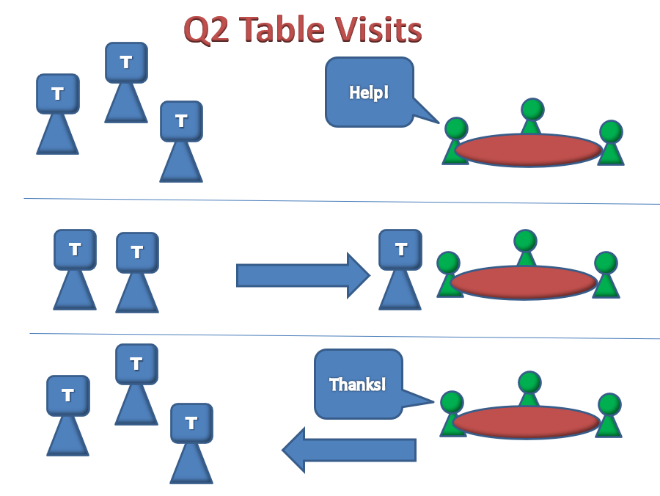
Q2 TablesQ2 Tables dynamically manages study and work table tutoring and advising scenarios, tracking the total time a student spends in the center, while also recording each individual contact—or table visit a student has with staff. Q2 Tables is a redesign of a log in and out system, specifically for study table centers where students work on their own or study independently, while having the ability to request assistance as needed. No need to have students raise their hand, flag, or use another physical option to notify that they need some help – it is completely digital and web-based. Smartphones and tablets drive the queuing system for students that need assistance, and for staff to see the queue from their device and record each individual contact with students. How does Q2 Tables work for Students?
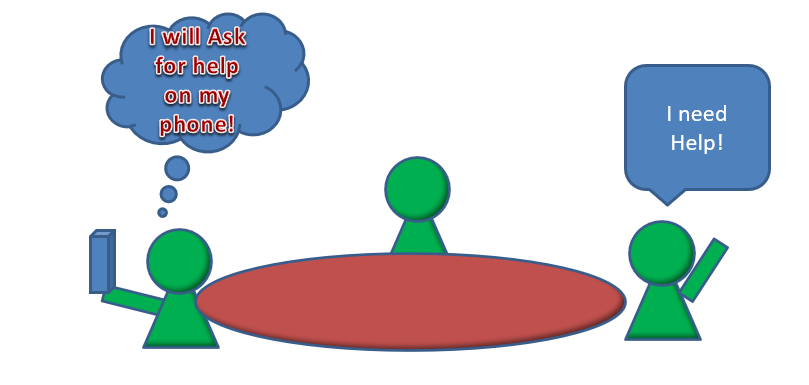
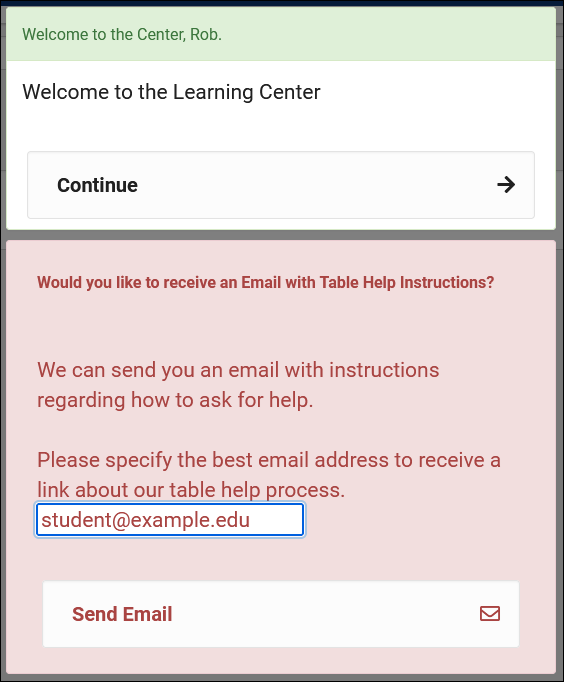
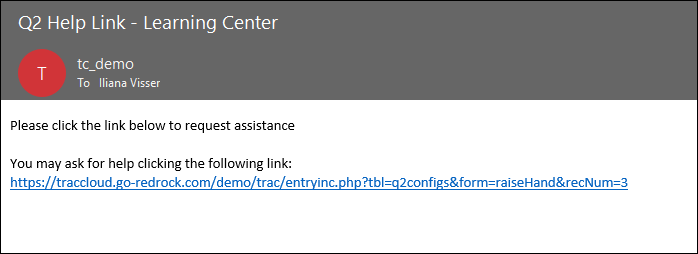
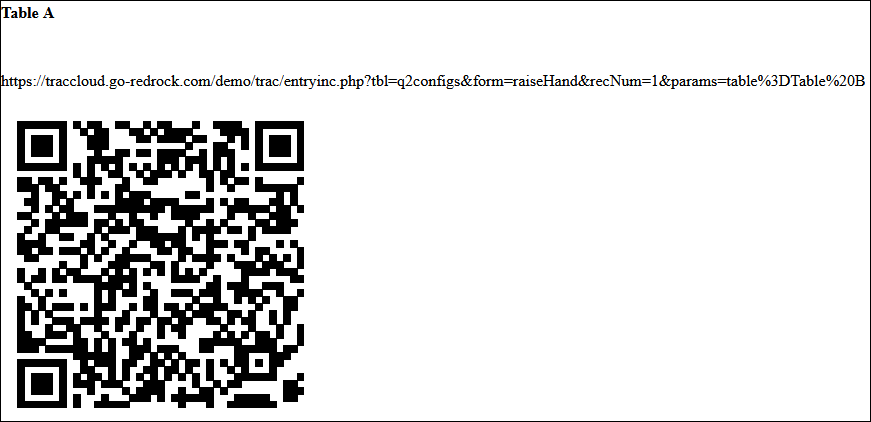
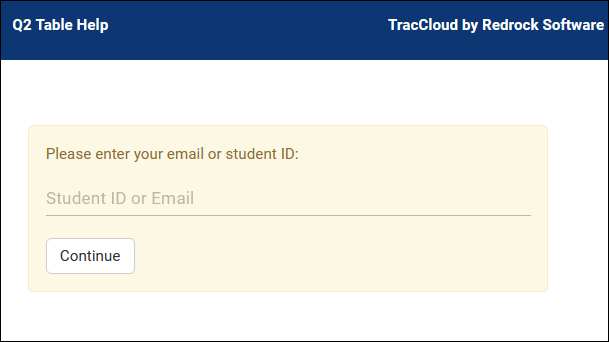
A student logs into a Q2 center ("From Center") to record the start of their visit. A staff member can log a student in manually, or the student can log themselves in via a kiosk using a barcode scanner, QR code, or by typing their student ID directly into the search field. Upon log in, students will be asked if they would like to receive an email regarding the Q2 help process. This email will contain a Q2 Help Link that students can use to virtually raise their hand, indicating that they need assistance from a staff member working in the Q2 center. If the student requests an email to be sent to them regarding the help process, the system will ask if the student would like an email sent to their current email on file, or if another address would be preferred. If the student chooses not to receive an email regarding the Q2 Help Link, students also have the option to scan a QR code placed in the area that the student is working independently. QR codes are generated by TracCloud and be created to represent different tables, rooms or locations in your physical center. Example: Once the student scans the QR code from their mobile device or clicks on the emailed Q2 Help Link, the student will end up at the window below. Here, the student will be asked to enter their email address or student ID number to login and request help. After the student enters their ID or Email address and clicks the continue button, the student will be prompted to select some additional options as to why they are requesting help. The option to select a Subject and Reason can be toggled on or off in your Q2 settings. If the option to ask for Subject and Reason are disabled, the student will simply be prompted to click the “Request Help” button to request assistance. Once the request for help has been submitted, the student will be moved into a queue only visible from the consultant’s perspective, which will display all students currently requesting help, indicated by a raised-hand icon. Students can also physically raise their hand, and a staff member can then virtually raise the student's hand for them by clicking the box to the left of the student's name, as shown in the screenshot below. How does Q2 Tables work for Staff?
Staff have Q2 links on their TracCloud Dashboard that will take them directly into the Q2 Configuration for their respective centers. Once the Q2 Configuration has been opened, a gear icon will be visible in the bottom left corner that will allow staff to access the settings for their current Q2 Config. From here, the staff can log out or return to the Dashboard. The staff can also view their current Config, change to a Queue Mode, or switch to another Q2 Configuration that they have access to. The staff Q2 Dashboard is split into two separate views. On the left, students in the Queue working independently, and whether or not they're currently raising their hand requesting assistance. On the right, students currently being helped by staff. Staff have a few actions when viewing/managing students in the Queue working independently.
Once the student’s hand has been raised, an Icon will appear indicating that the student is requesting assistance.
Once the student has been moved to the “Currently Being Help” area, you may click on the entry to adjust the student's subject or enter notes at any time. If you wish to enter notes but not conclude the visit, you may click the “Close” option at the bottom to close the entry after your notes have been entered. You may open and close the entry to make adjustments and add notes as many times as needed throughout the visit. When you are ready to conclude the meeting, click on “Conclude the Visit" to finish the meeting with that student. Once the interaction has been recorded and concluded, the student will be returned to the queue on the left to once again study independently until their hand is raised again. Clicking the “x” to the right of the student’s entry will cancel the request for help, lower the student’s hand, and return the student to the Queue on the left. How to set up Q2
Q2 requires two centers, a From Center (Queue) and a To Center (Center). The From Center/Queue is where the Trac System will record the total time a student spends in the center. The To Center/Center is where the Trac System records each individual contacts a student has with a staff member, or "Micro-Visits." The From Center and To Center can both be created in your Profiles. Dashboard > Other > Other Options > Select your Profile > Centers > Create New Center. Your From and To Center will both need to be assigned a course and a reason list in order to service students in each center and configuration. Next, you will need to create your Q2 Configuration. From the your Dashboard, click on Other > Q2 Tables > Q2 Configurations. Select the Hamburger icon (File:Hamburger.png) and click “New Q2 Configuration” Lastly, in order for staff to have access to Q2, their permission group will need to be modified and adjusted to enable that access. The Admin/Modules tab will allow you to add a Q2 Config to each group as needed. Your permission groups can be found in Other > Other > Options > Groups > select the group you wish to modify. For information on purchasing the Q2 Module, reach out to sales@go-redrock.com
|
