| Resources are able to be checked in and checked out from several areas within your Trac System.
Resources Listing
The Resources Listing displays a list of ALL available resources entered into your Trac system, and also contains the corresponding record for each resource. We can quickly see barcode number, check out times, due in times, the associated center, as well as a description for each resource.
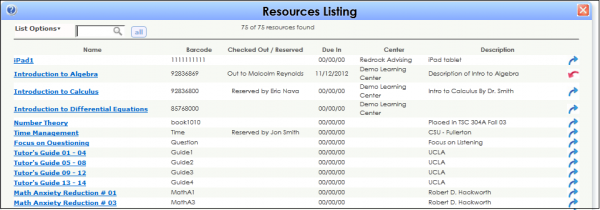
To check a resource out to a student, click on the blue arrow on the far right side.
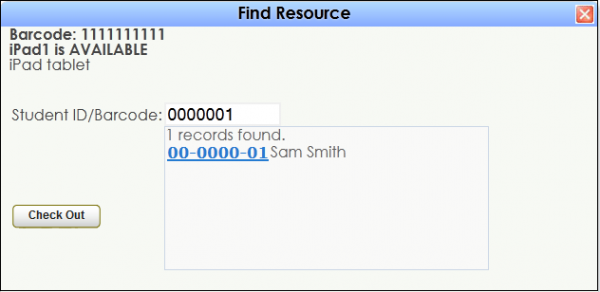
In the Student ID/Barcode: field, enter our student’s ID number or name to locate the student’s record. Click on the ID number next to the student to check this resource out to our student. Click Check Out to complete the process.

To check a resource in from a student, click on the right arrow on the far right side
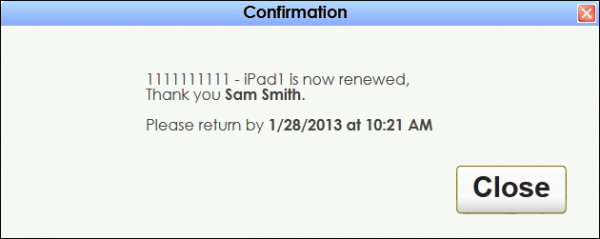
If a student wants to renew a checkout, click the Renew Check Out button to extend the date the resource is due.
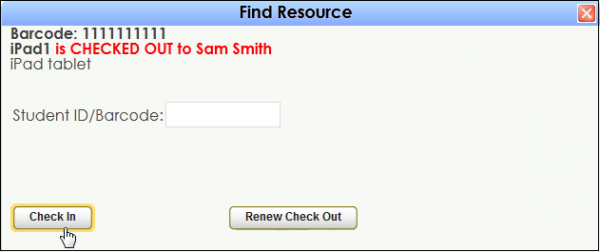
Click on the Check In button to check this resource back in.
Log Listing
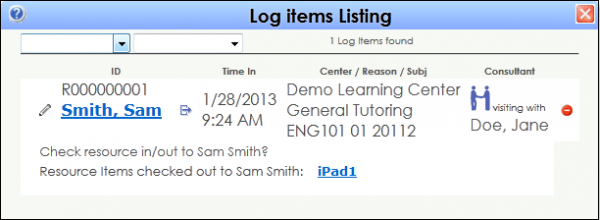
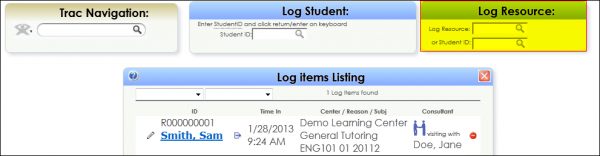
Resources may also be checked in and out to students directly from the Log Listing. Students who are currently logged in to your centers are able to borrow and return resources directly at the Front Desk.
To be able to check resources in and out to your students directly from the Log Listing, you will need to add access per Group of users.
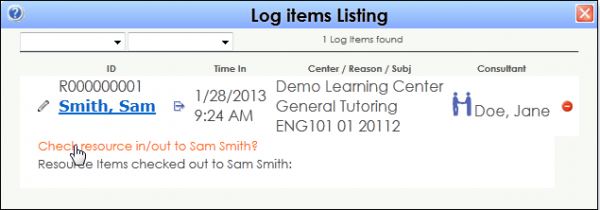
Click on Check resource in/out to Sam Smith? to begin the process of checking a resource out.
Here we can enter the Name, Barcode, or Keyword of a resource to locate the resource for our student.
Click on the barcode ID next to the Resource to populate the field with the appropriate resource. Click “Checkout” to then check the item out to the selected student.

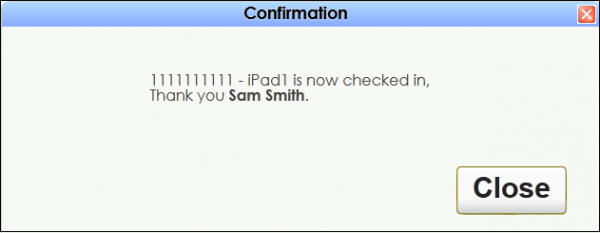
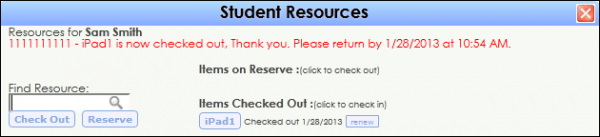
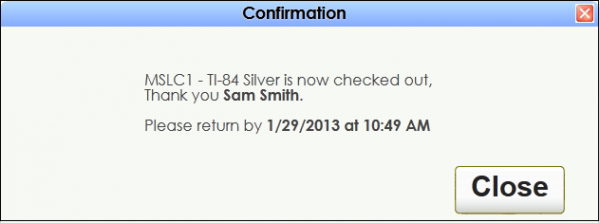
The system then notifies the User that the resource is checked out to our student Sam Smith.
Log Resource
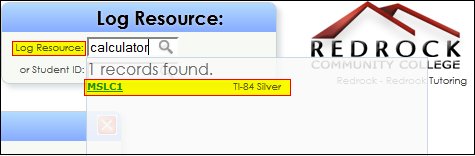
The Log Resource window, similar to the Log Student window, allows users to conveniently check resources in and out using a small window that appears at the top of every page. Access to the Log Resource window can be given through your Group Access preferences. Once sufficient privileges are granted, a user’s MyPrefs may need to be adjusted as well to add the Log Resource function to a user’s account.
A user can enter a Resource barcode, name or keyword in the Log Resource field to locate a Resource to check in/out.
Once the barcode ID# hyperlink is clicked, the system will inquire as to which student is borrowing this resource. Enter a Student ID number or name to locate our student record.
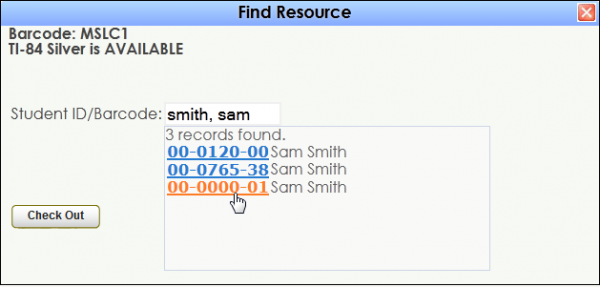
After performing the search and finding your student, click on the blue ID# hyperlink next to our student’s name.
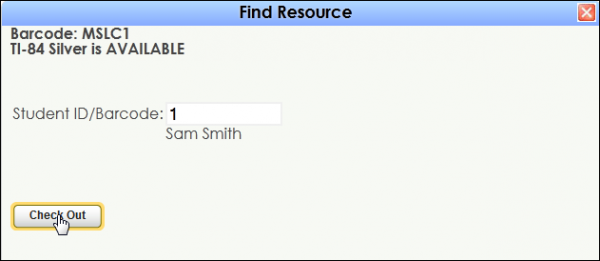
Now click the Check Out button to complete the process.
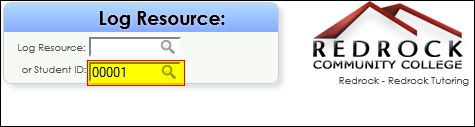
Alternatively, we may enter a student ID number in the Student ID field of the Log Resource window to locate a student first. Hit Enter or Return after the ID is entered to start the process.
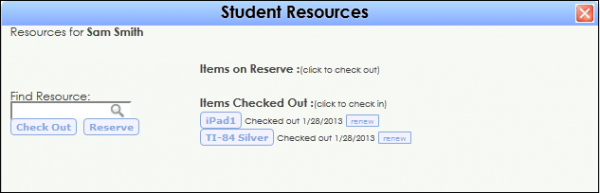
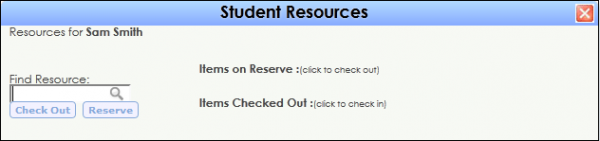
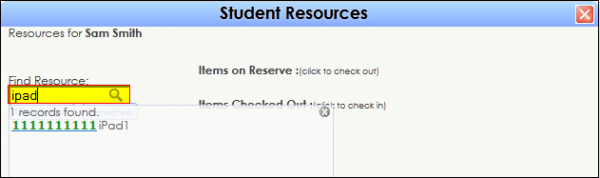
In the Student Resources window that appears we are able to see a list of resources that our student has either on Reserve or Checked Out. To find a resource to check out for this student use the Find Resource field to perform a search.
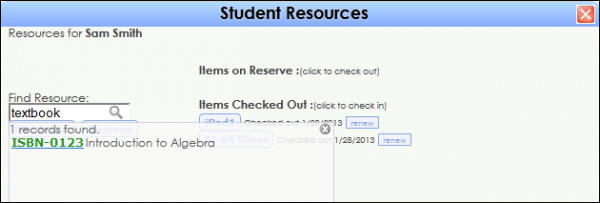
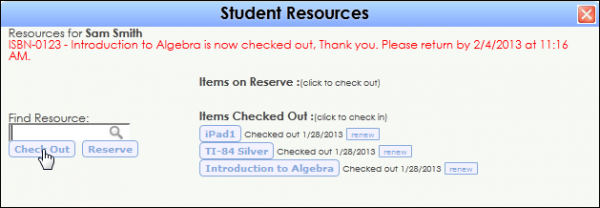
After entering a barcode number, name, or keyword, click Check Out to check out the resource, or Reserve to reserve the resource for our selected student.
| 


