| Students added to a List can then be added to a Watchlist, which can help visually organize and separate groups of students that require special attention. A color coded dot can be assigned for each list to differentiate between classifications, and watchlist status can be displayed on the Log listing, during the log in/out process, on the student record, in the student listing, and in appointment records.
To create and modify your Watchlists, navigate as an Administrator to your Utilities & Prefs. Select the System Prefs tab and in the search field type “Watch” and hit enter or return to perform the search.
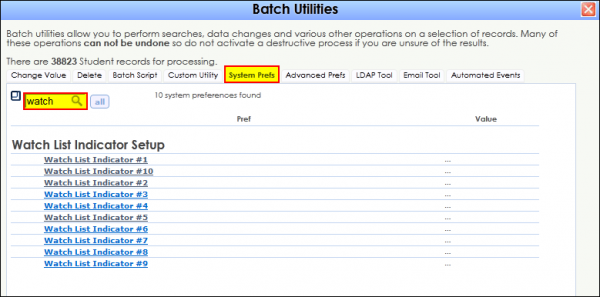
You can create up to ten watchlists to highlight or differentiate a variety of criteria. Click on the Watch List Indicator #1 preference to modify your first Watchlist.
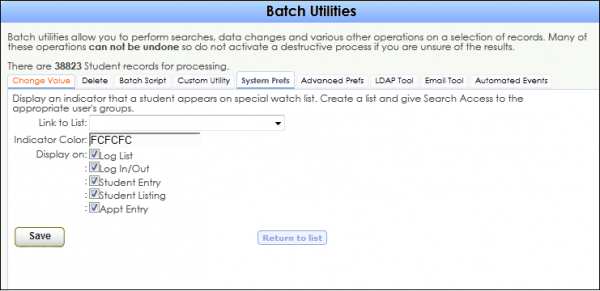
Here we will need to link this Watchlist to an existing List, whether dynamic or static. We can then select a color for the watchlist, and we can also choose which areas the watchlist indicator will appear in. Click Save to save your watchlist.
On the Log Listing:

During the Log in / Out process
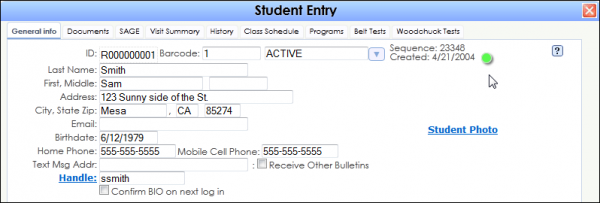
In the Student Entry record:
In the Student Listings:

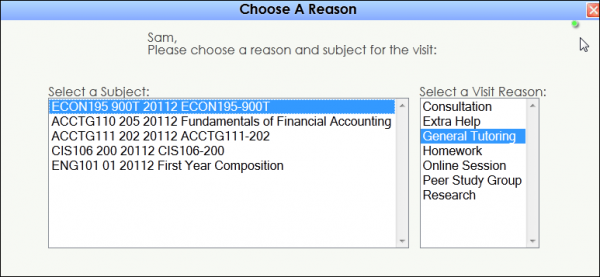
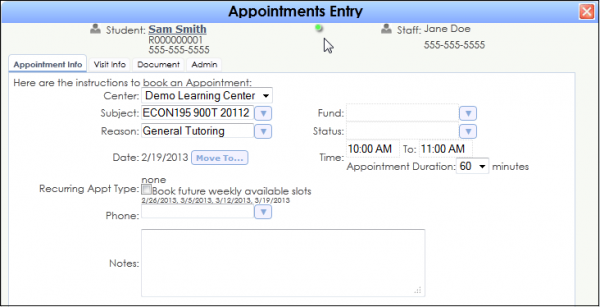
In the Appointment Entry Record:
| 


