After you have activated your Center Profile, we now have the ability to create subcenters. A subcenter could represent a physical center, department, unit, or any other division that you might need to separate activities, users, consultants, schedules, and visits. Typical subcenters include Learning Centers, Math Centers, Writing Centers, Advising Centers, but subcenters do not have to be limited to actual physical locations.
Getting Started
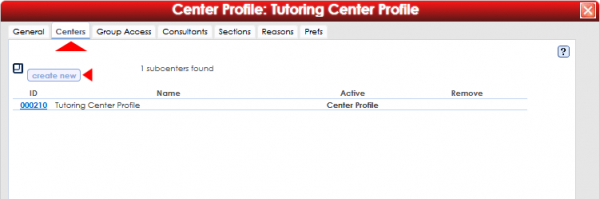
To create a subcenter, navigate to the Centers tab within your Center Profile. Click "Create New" to begin the process of creating a new subcenter.
Trac Navigation > Search Glass > Center Profiles > [Your Profile] > Centers
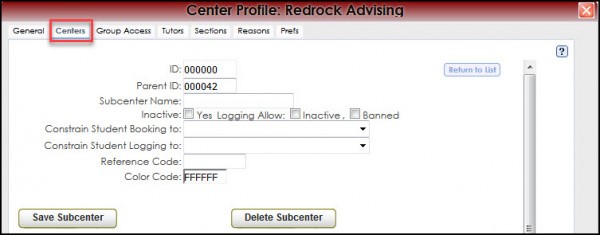
Constrain Student Booking to: Allows you to select a List such as "Athletes," "At Risk" or any list you create to only allow the designed List to view the subcenter when they book appointments.
Constrain Student Logging to: Allows you to select a List to only allow the designed List to view the subcenter when the logs into your subcenter.
Color Code: Allows you to change the color drop down on the Week Schedule when a consultant, staff or administrator books an appointment for the student.
And once you’ve selected an appropriate name for your subcenter, click save.
Setting Permissions
Now that we’ve created the subcenter, we must grant access to the users. From your Center Profile window, click on the 'Group Access' tab.
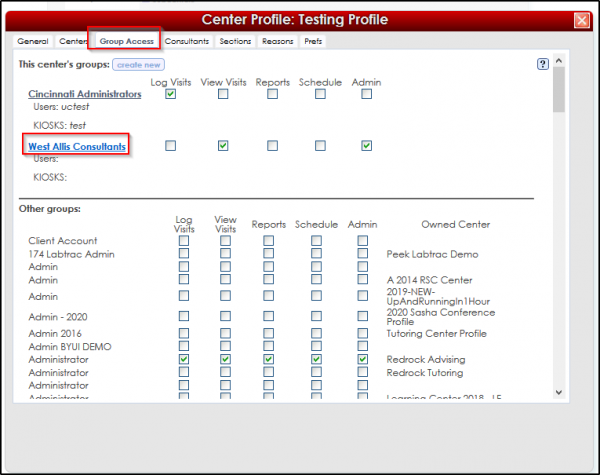
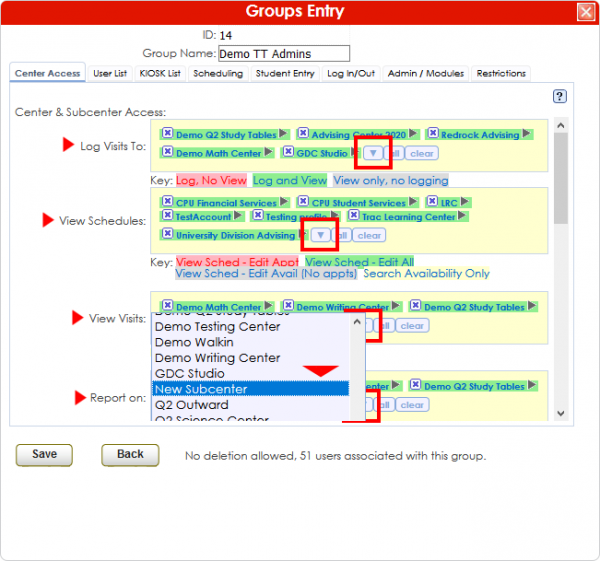
Click on a group that should have access to this center (including the SysAdmin group). Click on the blue drop-down arrow in each access category you want them to have access to, and select your new center. By default, it's set to Green (Log and View), but you can click on the center name in the group to change it to 'Log, No View' or 'View only'. Repeat for each group that needs access.
Adding Sections to the Center
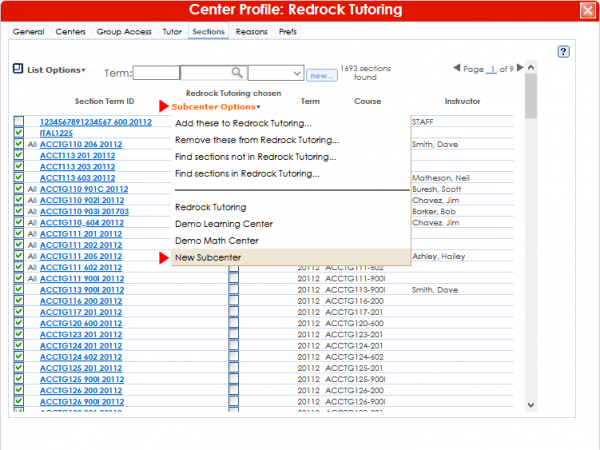
From your Center Profile window, click on the "Sections" tab. Click on the "Subcenter Options" drop-down menu, select your new center from that list.
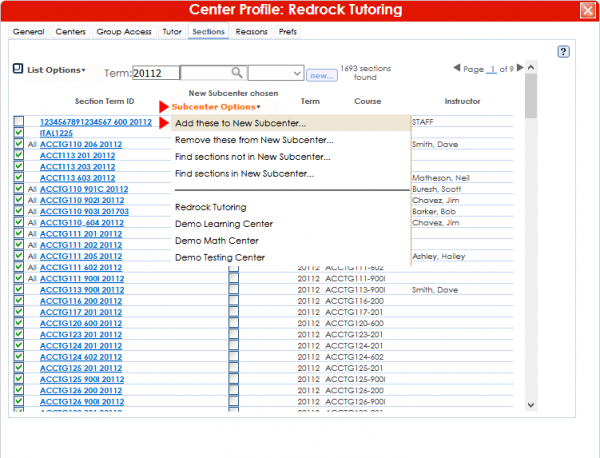
Once your subcenter is selected, if you're just adding one or two subjects, you can manually click the rightmost checkbox for each subject to add it to the new center.
If you want to add many subjects at once, you can filter the list down with the search options at the top. For example, you could search for a specific set of subjects by searching for something like "BIO@", which will list all subjects that start with "BIO".
Once you've filtered the list down, click "Subcenter Options" again, and click "Add these to...".
Adding Reasons to the Center
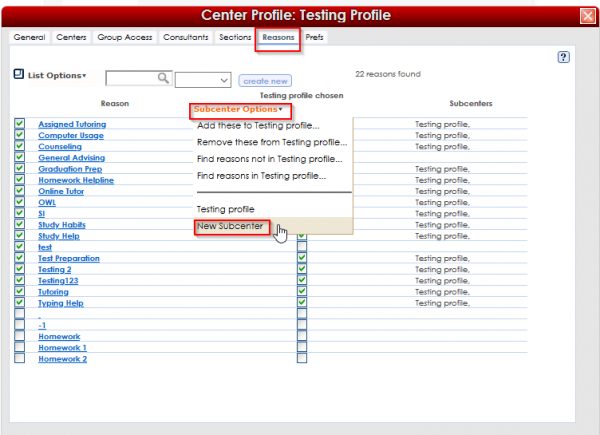
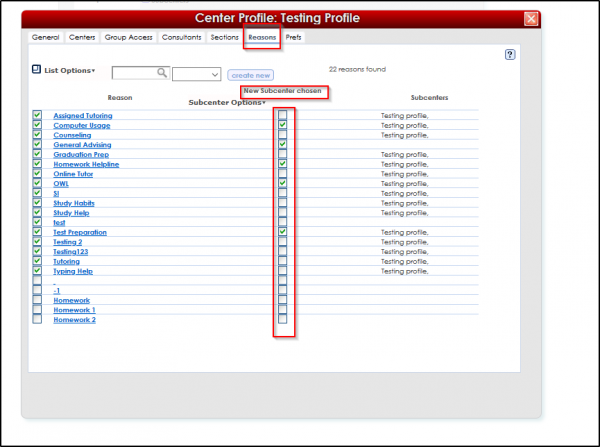
From your Center Profile window, click on the "Reasons" tab. Click on the "Subcenter Options" drop-down menu, select your new center from that list. Click the rightmost checkbox on every reason you want to add to your new center.
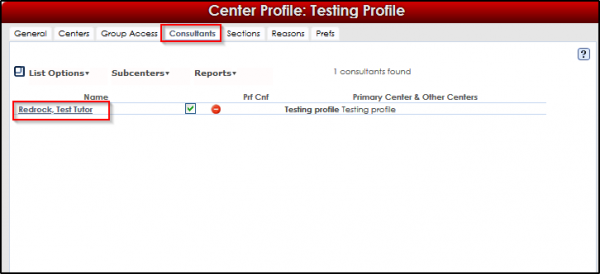
Assigning Consultants to the Center
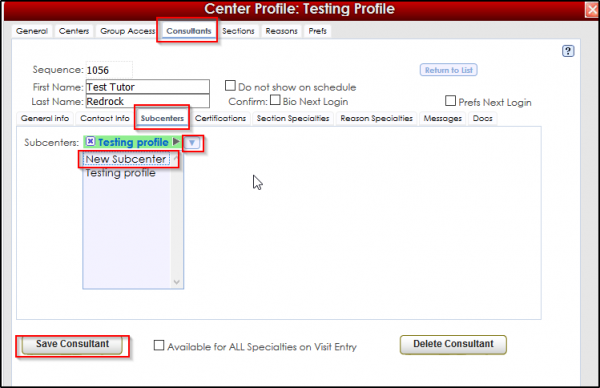
From your Center Profile window, click on the "Advisors", "Tutors", or "Consultants" tab. Click on the name of a consultant you'd like to assign to the subcenter. Click on the "Subcenters" tab in their profile, then click the blue down-arrow and choose your new center. Save the consultant, repeat for each consultant you'd like to assign.
You can also use the "List Options" drop-down menu to filter your list of consultants, then click on the "Subcenters" drop-down > "Add These to..." to add consultants in bulk.
Now that our subcenter has all the required elements, it should now be fully functional in the Trac System!
|


